
3D Print Delamination: Why Layers Split and How to Stop It
Nuho India Team
Nuho Creative Team
Key Takeaways & TL;DR
- Short answer: 3D print delamination happens when a new layer of plastic fails to weld itself to the layer beneath it, so the two separate along a layer line. The four usual causes are a nozzle tempera
- Delamination is not warping and it is not a layer shift
- The four causes, in the order you should check them
- Diagnosis table: work through this in order
- Why the monsoon makes this worse
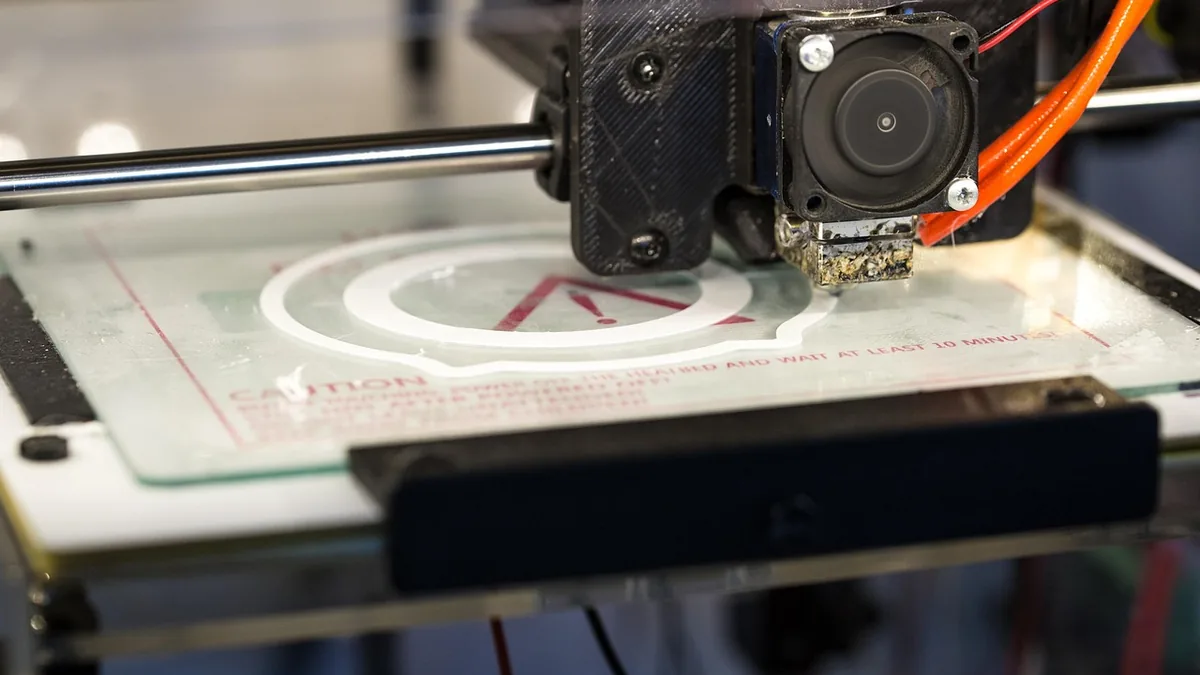
printer, 3d, print, 3d printing, white, 3d model
3D Print Delamination: Why Layers Split and How to Stop It
Short answer: 3D print delamination happens when a new layer of plastic fails to weld itself to the layer beneath it, so the two separate along a layer line. The four usual causes are a nozzle temperature that is too low, too much part cooling or a cold draft, moisture in the filament, and under-extrusion. Fix them in that order — dry the filament first, then raise the nozzle temperature in 5 °C steps, then cut the cooling, then check your extrusion flow [1][2].
Delamination is one of the few print failures that looks catastrophic but is usually cheap to solve. It is also easy to confuse with warping or a layer shift, which need entirely different fixes. This guide separates them, gives you a diagnosis table you can work through in order, and explains why the problem gets noticeably worse through an Indian monsoon.
Delamination is not warping and it is not a layer shift
Three failures get mixed up constantly, and fixing the wrong one wastes filament:
| Failure | What it looks like | What is actually happening |
|---|---|---|
| Delamination | A clean horizontal crack or split along a layer line; the part may snap apart in your hands | Layers never bonded to each other |
| Warping | Corners or edges lift and curl away from the bed; the part is banana-shaped | Shrinkage pulling the whole part, usually starting at the first layer |
| Layer shift | Upper sections are offset sideways from lower sections; a visible step in the wall | The printer lost steps — belts, pulleys or a collision, not a heat problem |
Delamination is a bonding failure. When a new layer is deposited it must partially remelt the surface of the layer below so the two polymer chains interdiffuse and set as one solid. If that interface stays too cool, or is contaminated by steam or gaps, the weld is only half made [1].
The four causes, in the order you should check them
1. Nozzle temperature too low
This is the single most common cause. PLA typically prints somewhere between 195 °C and 220 °C depending on brand, and Prusa's troubleshooting guidance is explicit: if you are seeing cracking or layer separation, increase the printing temperature in 5 °C increments until layer adhesion is good [1]. Stay inside the range printed on your spool rather than guessing.
Higher temperature within the safe range means more heat delivered to the interface, which means more remelting of the layer below and a stronger bond. Thick layers and larger nozzles do more work per layer, so they generally want to sit toward the upper half of the material's range [2].
2. Too much cooling, or a cold draft
Even at the right temperature, a part-cooling fan or a cold room can drop the interface below its bonding temperature before the next layer arrives. ABS is highly susceptible to any cold air blowing on the print before it has cooled fully, and Prusa recommends turning fans off completely for ABS and printing it in an enclosure [1].
Tall, thin PLA parts are the other classic case. Because each successive layer is small, it can cool completely before the next one lands, even with the fan at full speed. If your part splits at the same height on the same side of every print, suspect a draft from a window or an air-conditioning vent rather than your slicer settings [2].
3. Wet filament
Moisture absorbed by the filament boils as it passes through the hot end. The resulting micro-bubbles sit at the layer interface and mechanically prevent the two layers from making full contact, on top of leaving a porous, rough surface [2]. This is the cause that surprises people most, because the print usually looks fine until it does not.
The tell is audible popping or crackling during printing, combined with a matte or stringy surface. Indian coastal and monsoon conditions make this considerably more likely — an open spool can absorb enough water to print badly within a few weeks. Our guide to drying and storing filament through the Indian monsoon covers the temperatures and times per material.
4. Under-extrusion
With less plastic than intended, each layer has less contact area with the one below, so the weld is only partially made. A partial nozzle clog, a slipping extruder gear, or a badly calibrated flow rate will all produce this. No layer bond can ever be stronger than the amount of plastic forming it [2].
Rule this out before you start chasing temperature: if you can see gaps, thin walls or missing lines in the same print, you have an extrusion problem wearing a temperature costume.
Diagnosis table: work through this in order
Change one variable at a time and reprint the same small test piece, not the full model. The order matters — drying the filament first stops you wasting an hour tuning temperature on wet material [3].
| Symptom | Most likely cause | First fix to try |
|---|---|---|
| Clean horizontal split along a layer line, PLA | Nozzle too cool | Raise nozzle temperature in 5 °C steps |
| Splits at the same height and side every time | Cold draft | Block the draft; add an enclosure |
| Cracking mainly on ABS or ASA | Too much cooling | Fan off or 0–20 %; enclosure |
| Tall thin part splitting despite full fan | Layers cooling too fast | Drop fan to 60–80 %; slow the print |
| Audible popping, matte rough surface | Wet filament | Dry it, then reprint immediately |
| Gaps and thin walls alongside the splitting | Under-extrusion | Check nozzle clog and flow calibration |
| Weak bond but settings unchanged | Layer too thick | Keep layer height under ~75–80 % of nozzle diameter |
Only after temperature and cooling are settled should you consider raising the flow rate or extrusion multiplier — Prusa suggests 5 % steps, and warns that too much flow causes bulging, ridges and dimensional errors [1][3].
Why the monsoon makes this worse
The moisture cause is not evenly distributed across the year. Through the southwest monsoon from June to September and the northeast monsoon that follows, ambient humidity across much of India sits high enough that an unsealed spool picks up water steadily. That water becomes steam at the nozzle and weakens exactly the interface you are trying to weld.
The practical response is storage rather than settings: keep opened spools in a sealed box with fresh silica gel, and dry a spool before its first print if the bag arrived damaged. It costs far less than a rejected batch. Filament storage for Indian humidity and the drying guide above cover the routine.
Layer height is an underrated variable
Layer height caps out at roughly 75–80 % of the nozzle diameter — about 0.30–0.32 mm on a 0.4 mm nozzle [2][3]. Beyond that the extrusion is no longer being squashed sufficiently against the layer below, and contact area drops.
Thicker layers are not inherently wrong; they are faster and stronger in some directions. But if a part is splitting and your temperature, cooling and filament dryness are all confirmed good, reducing layer height is a legitimate next step. Our layer height comparison shows what each setting costs you in time.
Choosing a material that will not split
Sometimes the honest answer is that the material is wrong for the geometry. Nuho's published material data makes the trade-off concrete:
| Material | Heat deflection | Tensile strength | Suited to |
|---|---|---|---|
| PLA+ | 55 °C | 60 MPa | Keychains, decorative items, display models |
| PETG | 75 °C | 50 MPa | Functional parts, outdoor and water-resistant parts |
| ABS | 85 °C | 40 MPa | Automotive components, high-heat enclosures |
| TPU 95A | 60 °C | 35 MPa | Flexible cases, gaskets, impact bumpers |
PLA+ has the highest tensile strength of the three rigid options and prints most forgivingly, which is why it suits small personalised items. PETG trades a little strength for a much wider margin against cracking — Prusa notes it does not have the same tendency to crack or delaminate as ABS, and is better for larger objects [1]. Our PLA versus PETG durability testing notes and PETG print settings go deeper on each.
It is worth saying plainly that delamination is not exclusive to filament printing. Formlabs defines it as a defect in which the cured layers of a print separate from one another, and notes that it can occur on any type of 3D printer even though the causes are unique to each print process [4]. In resin printing the failure comes from lateral forces during the peel process disrupting the molecular bonding between layers — not from thermal welding — so none of the temperature advice above applies to a resin part.
What this means for a personalised keychain or gift
For a buyer rather than a maker, delamination shows up as a product that splits along a visible line or snaps at a thin section. The defences are the manufacturer's, not yours: correct material selection for the geometry, a layer height within the nozzle's working range, and filament that was stored dry.
Nuho prints in PLA+, PETG, ABS, TPU and resin from a single facility in Coimbatore, Tamil Nadu, with a stated dimensional tolerance of ±0.2 mm or ±0.2 % and a minimum wall thickness of 1.2 mm for FDM parts. Orders are manufactured within 24 to 48 hours and shipped pan-India through Delhivery and Bluedart.
If you are ordering, these are the pieces where a weak layer bond would actually matter:
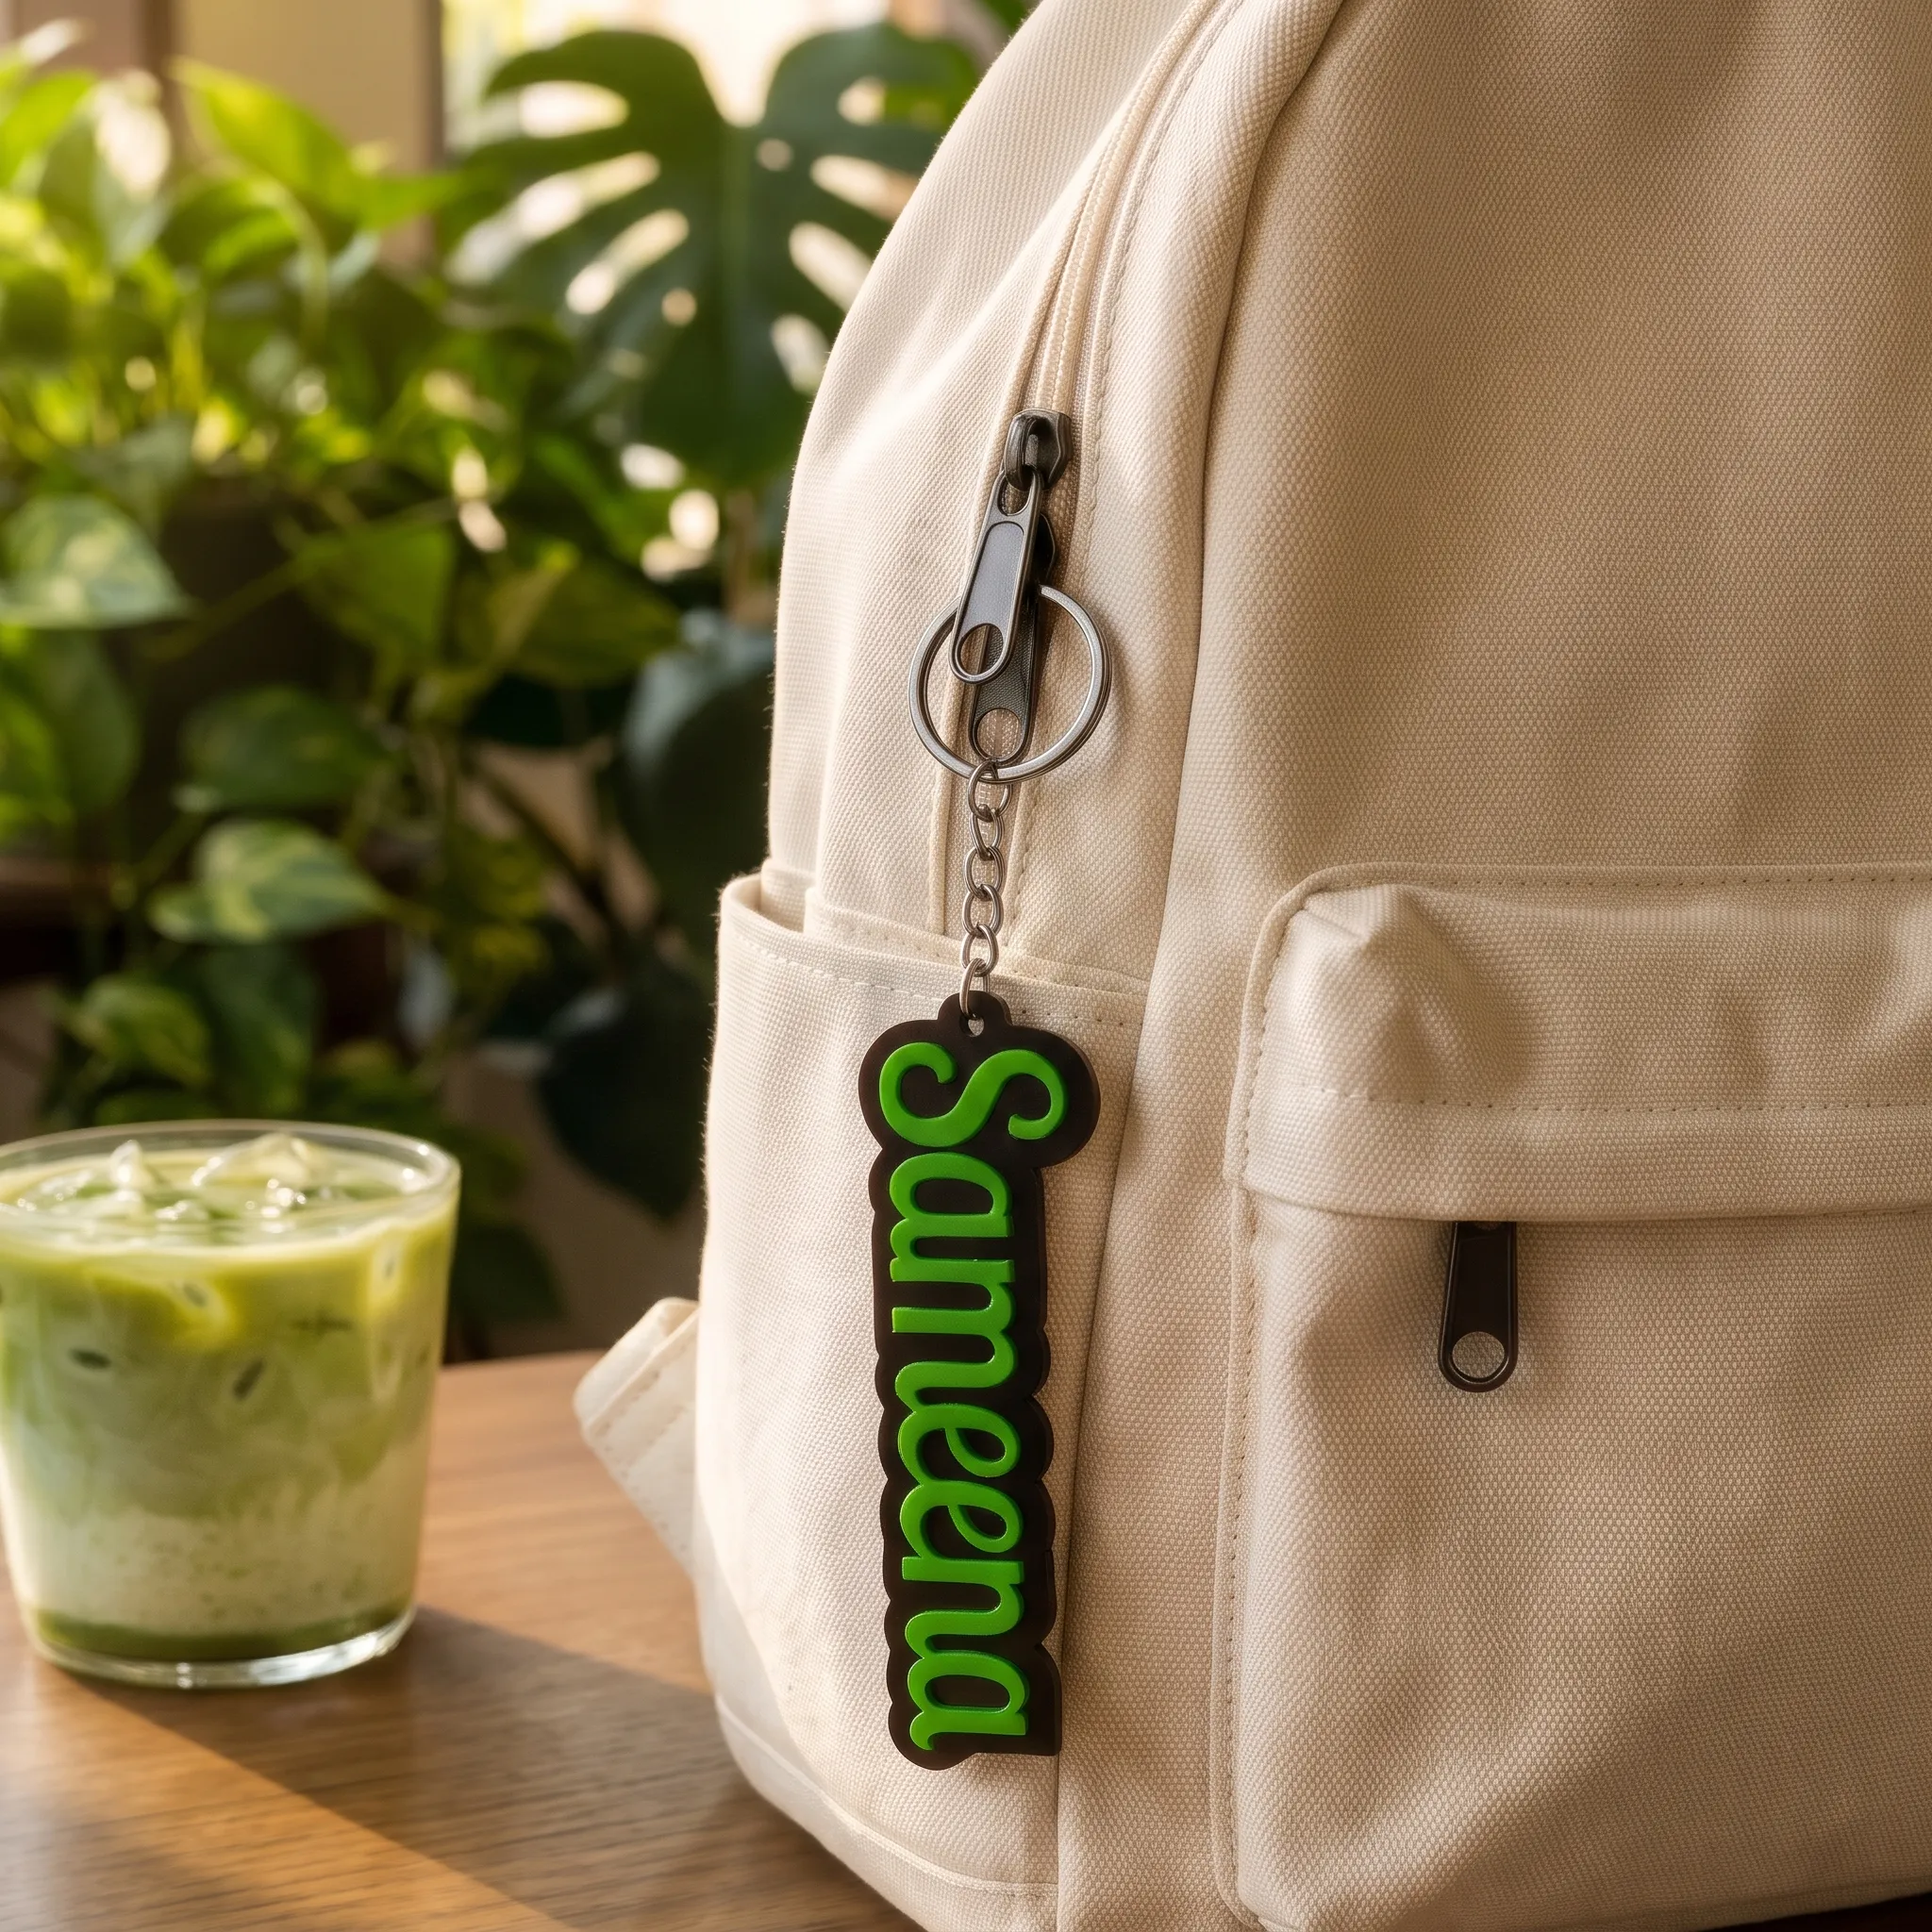
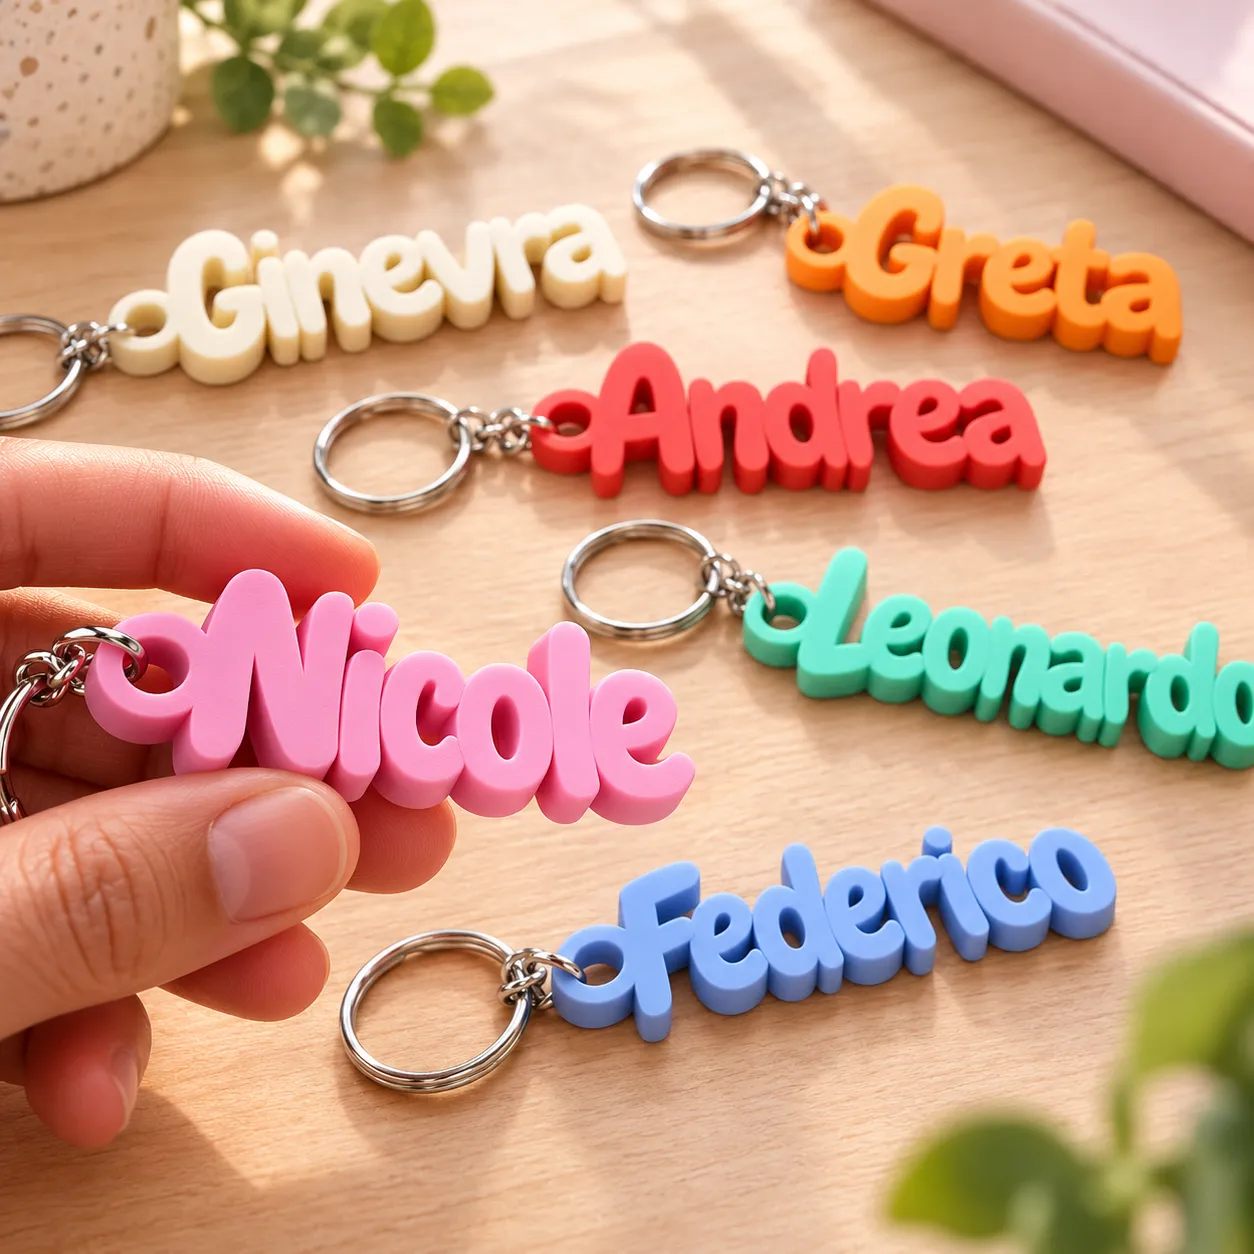
- Custom Name Keychain – Personalised 3D Printed Name — a thin lettered profile where interlayer strength is the difference between a gift and a disappointment.
- Custom Name Keychain with Parametric Design — the parametric geometry puts repeated stress on the same layer lines.
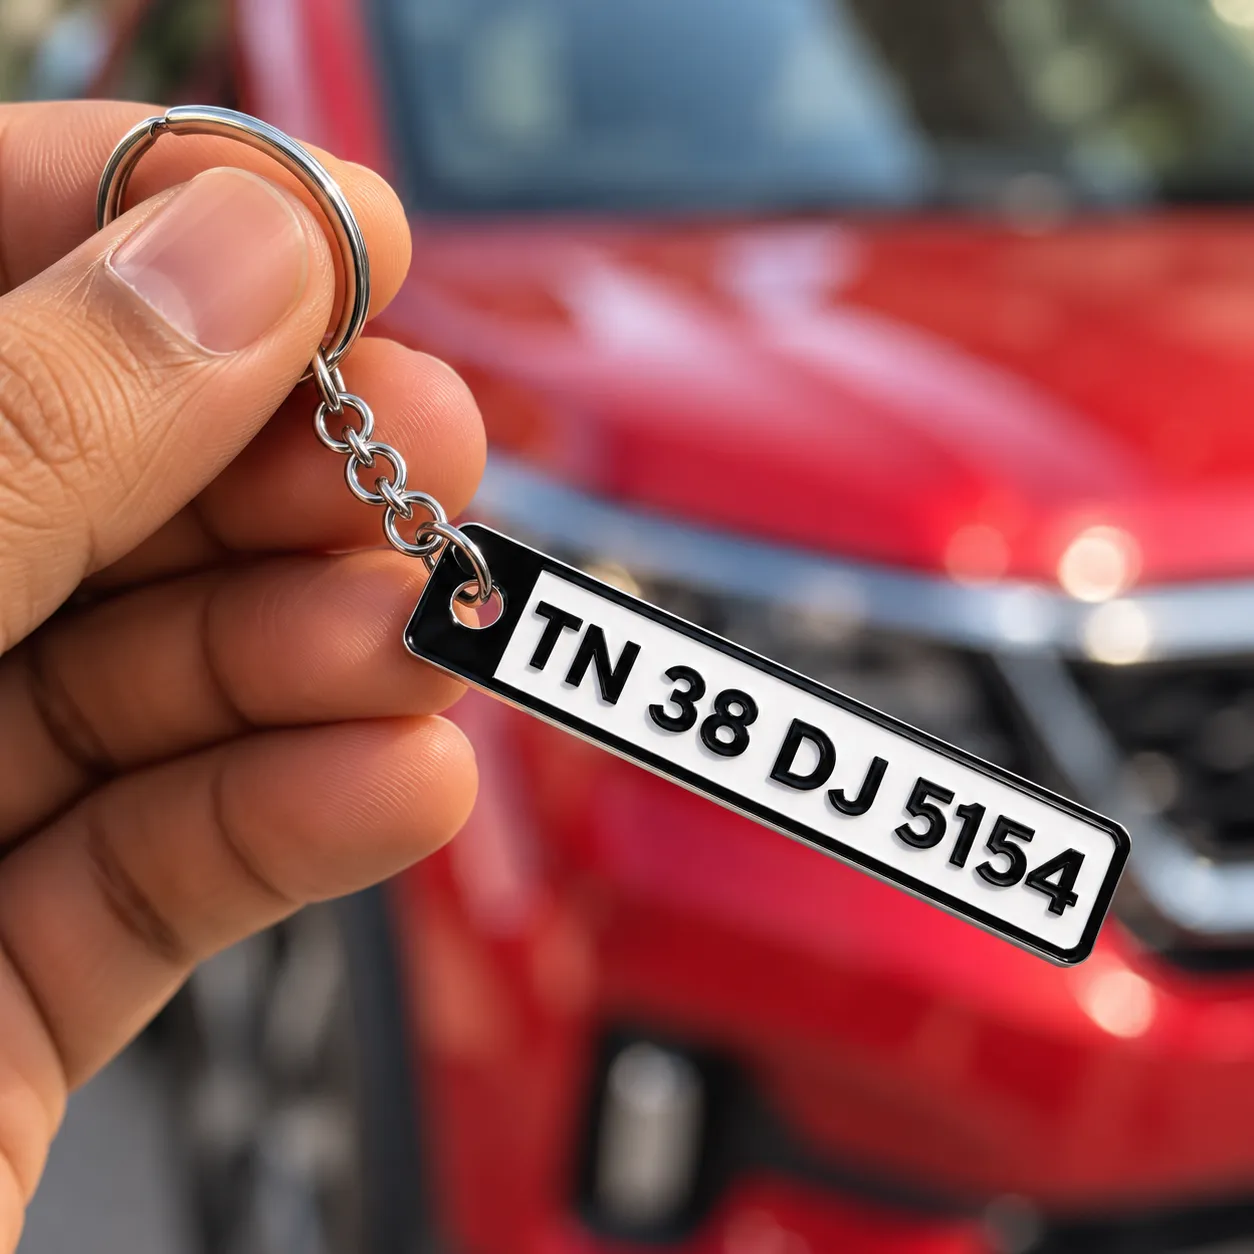
- Custom 3D Printed Car Numberplate Keychain — an item that lives in a hot car dashboard, where heat deflection and layer bonding both get tested.
For a fuller picture of the failure modes worth knowing about, see our guide to common 3D printing problems: warping, stringing and layer shift.
Frequently asked questions
How do I know whether my part has delaminated or warped?
Look at where the damage is. A clean horizontal crack running along a layer line is delamination — the layers never bonded. Corners lifting away from the bed or the whole part curving is warping, which is a shrinkage and adhesion problem starting at the first layer. A visible sideways step between sections is a layer shift, which is a mechanical problem with belts or pulleys rather than a heat problem.
What temperature stops PLA from splitting layers?
PLA generally prints between 195 °C and 220 °C depending on brand. If layers are separating, raise the nozzle temperature in 5 °C increments until the bond holds, staying within the range printed on your spool. Thick layers and larger nozzles tend to need the upper part of that range.
Can wet filament cause delamination?
Yes. Moisture in the filament boils as it passes through the hot end and the resulting micro-bubbles sit at the layer interface, preventing full contact between layers and leaving a porous surface. Audible popping during printing is the clearest sign. Dry the filament before changing any other setting.
Does delamination happen with resin printing too?
The term is used across processes, but the mechanism differs. In resin printing a failed layer bond relates to cure and peel forces rather than thermal welding, so filament-oriented fixes such as raising nozzle temperature or reducing fan speed do not apply.
Will a stronger fan setting help?
Usually not. More cooling generally makes delamination worse because the interface drops below its bonding temperature before the next layer arrives. The exception is the first few layers on a bed-adhesion problem, where some cooling helps the part stick down — but for mid-print splitting, reduce the fan rather than increase it.
The bottom line
Delamination means the layers did not weld. Work the causes in order: dry the filament, raise the nozzle temperature in 5 °C steps, reduce cooling or block the draft, then check your extrusion flow. Change one variable at a time on a small test piece so you know which change fixed it — and remember that through the monsoon, storage is usually the real fix.
If the part you are trying to make is a personalised gift rather than a prototype, the material and tolerance decisions are already made for you. Browse Nuho's product catalogue to see what is available, or read our common 3D printing problems guide for the failures that sit alongside this one.
Sources
Featured Custom Products
Frequently Asked Questions
More Articles You Might Like
3D Printing Tolerances and Keychain Fit: What ±0.2 mm Actually Means
Short answer: 3D printing tolerances are the acceptable dimensional gap between the size you designed and the size that comes off the printer. Desktop FDM typically lands within...
What to Do With Failed PLA Prints and 3D Printing Scraps
A practical guide to sorting failed PLA prints, checking local recycling options and avoiding misleading composting assumptions.
Desktop 3D Printer Ventilation: A Practical Filament Safety Checklist
A practical starting checklist for managing particles and vapours from desktop filament 3D printers.