
Custom Shape Stickers Upload Design: The Pre-Upload Checklist
Nuho India Team
Nuho Creative Team
Key Takeaways & TL;DR
- The grid layout decides the size ceiling: a 3x3 sheet gives nine stickers up to 35 mm, while a 1x1 sheet gives one sticker up to 200 mm.
- PNG with a transparent background is the preferred upload, because the empty pixels are what mark the shape that gets cut out.
- A thick white border of about 2-5 mm is added around every sticker, so nothing important can sit at the very edge of your artwork.
- Glossy lamination adds ₹30 and premium thick glossy adds ₹50, and a laminated surface shrugs off water, grease and fingerprints.
- Standard manufacturing takes 24 to 48 hours, then 2 to 4 business days in transit through Delhivery or Bluedart anywhere in India.
stickers, kitchen, cabinet, art, stickers, stickers
Custom Shape Stickers Upload Design: The Pre-Upload Checklist
Short answer: Before you upload your design for custom shape stickers, check five things. The grid layout sets the maximum sticker size, the file should be a PNG with a transparent background at 300 ppi, detail needs 2 mm of edge clearance, a 2-5 mm white border is added around your shape, and the lamination decides how it survives the monsoon.
Key Takeaways
- The grid layout decides the size ceiling: a 3x3 sheet gives nine stickers up to 35 mm, while a 1x1 sheet gives one sticker up to 200 mm.
- PNG with a transparent background is the preferred upload, because the empty pixels are what mark the shape that gets cut out.
- A thick white border of about 2-5 mm is added around every sticker, so nothing important can sit at the very edge of your artwork.
- Glossy lamination adds ₹30 and premium thick glossy adds ₹50, and a laminated surface shrugs off water, grease and fingerprints.
- Standard manufacturing takes 24 to 48 hours, then 2 to 4 business days in transit through Delhivery or Bluedart anywhere in India.
Which grid layout should you choose before anything else?
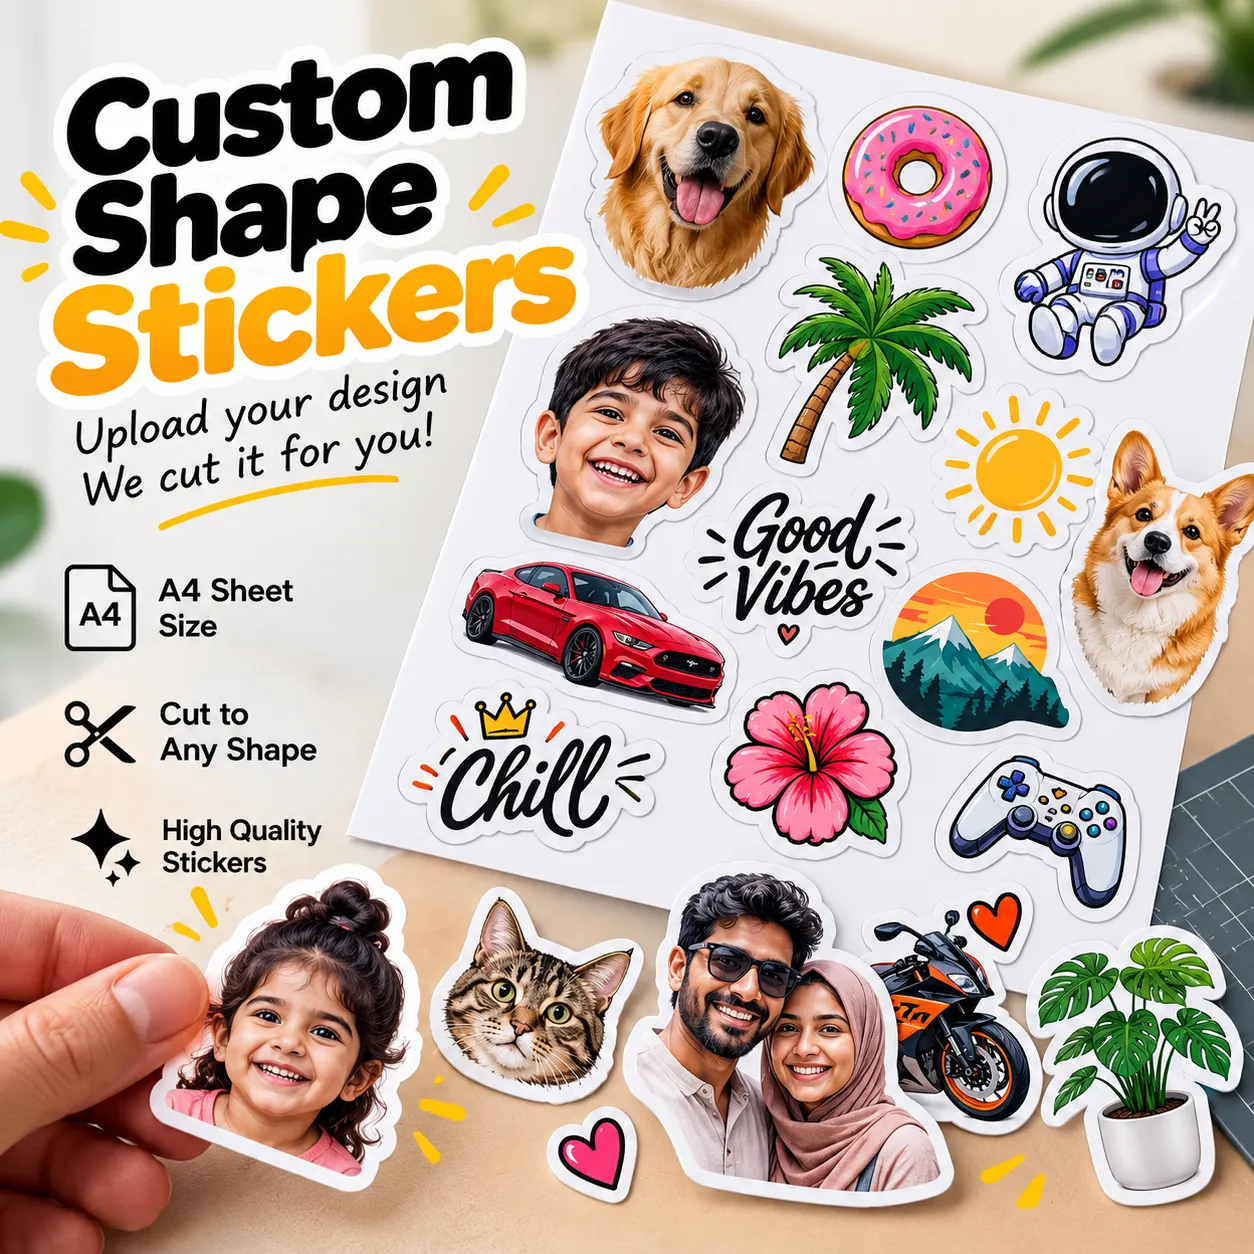
The upload form asks for a grid layout before it asks for anything else, and that one choice sets the size ceiling for every sticker in the order. The Custom Shape Stickers – Upload Your Design listing sells at ₹79 and offers five layouts, each with a stated maximum sticker size.
| Grid layout | Stickers per sheet | Maximum sticker size | Pixels needed at 300 ppi |
|---|---|---|---|
| 3 x 3 | 9 | up to 35 mm | 413 px wide |
| 3 x 2 | 6 | up to 60 mm | 709 px wide |
| 2 x 2 | 4 | up to 100 mm | 1181 px wide |
| 2 x 1 | 2 | up to 130 mm | 1535 px wide |
| 1 x 1 | 1 | up to 200 mm | 2362 px wide |
The last column is plain arithmetic: divide the sticker size by 25.4 to get inches, then multiply by 300. A 35 mm design therefore needs about 413 pixels across, and a 200 mm design needs about 2362.
Pick the layout from the artwork, not from the price. A cartoon face, a name in a script font or a logo with fine lettering needs the 1x1 or 2x1 cell, because all of that detail has to survive being shrunk to the finished size. Nine simple silhouettes or bold first names fit comfortably in a 3x3 sheet, which is why that layout suits birthday return gifts and school bag labels.
One caveat belongs to this decision. The listing states that sticker sizes may slightly vary because each sticker is custom cut based on its shape, so do not build a design that depends on two stickers butting up against each other to the millimetre.
What file should you upload, and why is PNG preferred?
The product page is explicit about the file: upload sticker images, with PNG preferred. Two properties of that format decide what your file has to contain.
Pixel density only means something once the print size is known, because a 100x100 pixel image printed in a 2 inch square has a resolution of 50 pixels per inch, while a printer device is capable of printing at 300 ppi [1].
That is why the pixel column in the table above is the number to check. A design that looks sharp on a phone screen can still be too small: a screenshot taken at 1080 px wide, cropped to a square and dropped into a 35 mm cell ends up stretched over roughly 413 pixels of print width only if you export it at final size rather than uploading it as it came.
PNG is the format to send because the file format supports lossless data compression and holds grayscale images with or without an alpha channel for transparency [2].
The alpha channel is the part that matters for a shaped sticker. Transparent pixels are how the file says "nothing here", so your artwork's outer contour reads as the edge of the sticker. If you upload a JPEG, or a PNG whose background is a solid white rectangle, the file no longer describes a shape, and the white rectangle becomes part of what you see. Export at final size, keep the background genuinely transparent, and check the file at 100 percent zoom before it goes up.
If you are building the file from scratch, the practical route is covered in how to make custom shape stickers in Canva, and the deeper artwork rules — cut lines, bleed and safe area — are set out in custom stickers in any shape: artwork, bleed and cut lines.
The white border: design for it before you upload
The listing carries an important note: a thick white border of approximately 2-5 mm will be applied around the sticker to preserve the shape and improve durability. That border is added after your file is accepted, so it has to be designed around rather than discovered afterwards.
In printing, bleed is printing that goes beyond the edge of where the sheet will be trimmed, and metric bleeds generally are 2mm-5mm from where the cut is to be made [3].
This upload flow handles the edge differently. The cut follows the outline of your artwork, and the white border sits outside that outline as a deliberate frame, which means the margin you must protect is inside your own design:
- Keep text, logos and faces at least 2 mm inside the outer edge of your artwork, so the blade and the border never crowd a letterform.
- Run your background colour all the way to the outline. A gap between the colour and the edge shows up as a second, unintended white ring inside the border.
- Avoid thin necks and sharp spikes. Anything that narrow is the first thing to tear when the sticker is peeled off its liner, and the artwork guide gives the working minimum widths.
- Look at the design at actual size before uploading, because a flourish that reads beautifully at 500 px can disappear at 35 mm.
A quick way to catch all four is to preview the file at 100 percent and print it once at true size, which is the habit described in custom shape sticker mockups: preview before you print.
Lamination: choose it before you upload, not after
Lamination is a setting on the same order form, and it changes how the sticker behaves in an Indian kitchen, a school bag or a monsoon commute. The three options and their prices are listed on the product page.
| Lamination option | Extra cost | What the film does | Where it earns its keep |
|---|---|---|---|
| No lamination | ₹0 | The print stays on premium glossy sticker paper with no protective film over it | Notebooks, paper invitations, short indoor use |
| Glossy lamination | +₹30 | A shiny film covers the print and makes colours look more vibrant | Water bottles, laptop lids, school bags |
| Premium thick glossy lamination | +₹50 | A thicker glossy film gives more material between the print and daily handling | Return gifts, tiffin boxes and anything passed between hands |
Laminating paper in plastic makes it sturdy and waterproof, and laminating products such as photographs can prevent them from becoming creased, faded, water damaged, wrinkled, stained, smudged, abraded or marked by grease or fingerprints [4].
Gloss lamination provides a shiny finish that can make colors appear more vibrant [4].
The Indian case for spending the ₹30 is straightforward. Condensation on a cold water bottle, a damp school bag during monsoon and the oil on a snack packet are exactly the exposures that list describes, and a laminated sticker takes them without the print lifting. If you are still weighing gloss against a non-reflective finish, glossy vs matte stickers compares the two properly.
What happens after you upload
Once the file is in, the order follows a fixed path. Your artwork is custom cut to its own shape, which is why the listing warns that sizes may slightly vary from sticker to sticker. Standard manufacturing takes 24 to 48 hours, after which the parcel moves 2 to 4 business days in transit through Delhivery or Bluedart to serviceable pincodes across India, roughly 27,000 of them, with tracking updates along the way.
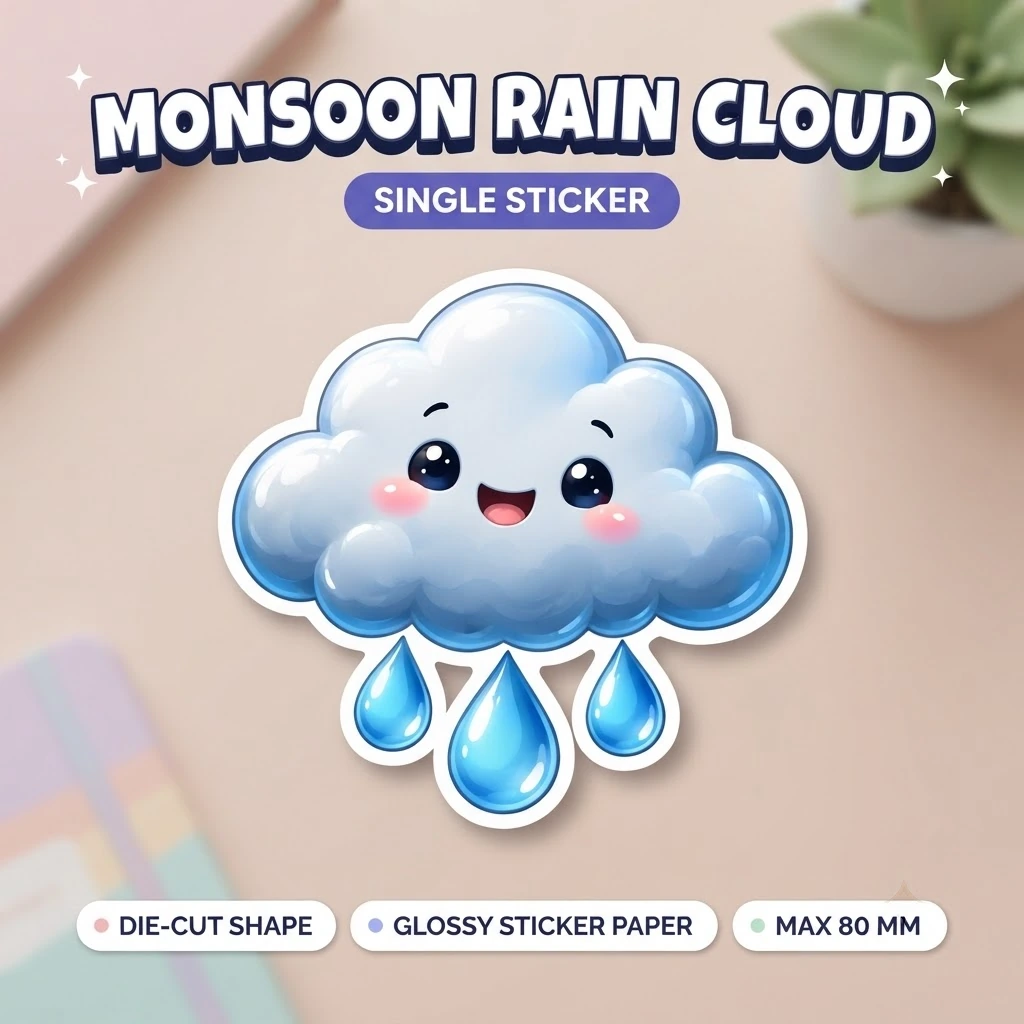
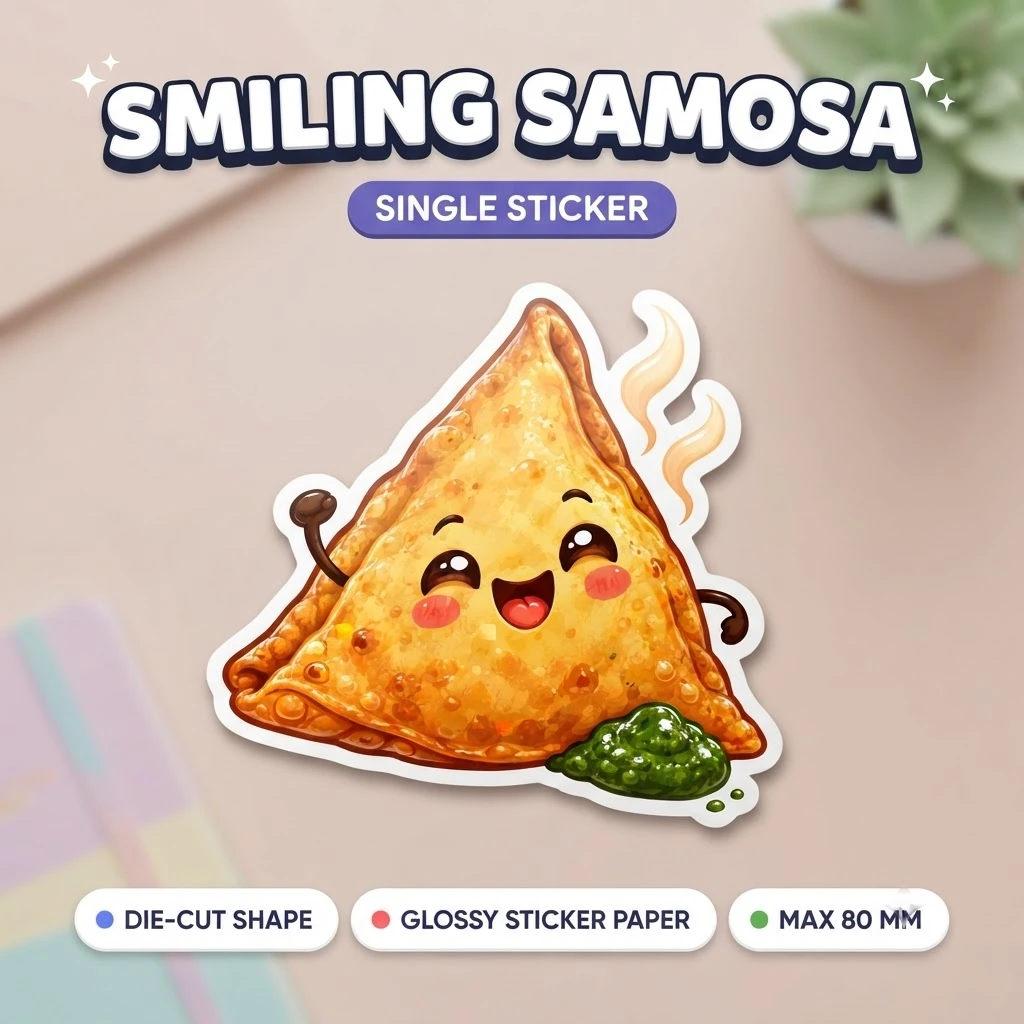
The base configuration is ₹79 for the sheet, with glossy lamination at ₹30 extra and premium thick glossy at ₹50 extra, and the listing runs an offer where adding two more sheets takes ₹30 off. Single ready-made designs such as the Smiling Samosa die-cut sticker or the Monsoon Rain Cloud die-cut sticker are a different product line: those are fixed artwork at up to 80 mm, not an upload.
Pre-upload checklist: run through this before you hit upload
- Grid layout chosen for the size your artwork actually needs, not for the lowest price.
- File exported as PNG at final size, with a genuinely transparent background.
- Pixel width at or above the figure in the table for your chosen layout.
- No text, face or logo detail within 2 mm of the outer edge of your artwork.
- Background colour reaching the outline, with no stray white halo inside the shape.
- No thin necks, hairlines or spikes that could tear during peeling.
- Design checked at 100 percent and at true printed size, not just on a phone.
- Lamination chosen for the surface the sticker will live on, including the monsoon.
- Quantity and layout cost checked against the offer on the listing.
- Names, dates and spelling read once more, because every reprint is fresh production.
Frequently Asked Questions
Which file format should I upload for a custom shape sticker?
PNG is the preferred format on the upload form. It supports lossless data compression and an alpha channel for transparency, which is how the background is marked as empty and your shape is defined.
How many pixels does a 35 mm sticker design need?
At 300 ppi, a 35 mm sticker needs about 413 pixels across, a 60 mm sticker about 709 pixels, a 100 mm sticker about 1181 pixels and a 200 mm sticker about 2362 pixels. Export at final size rather than scaling up later.
Will the sticker be cut exactly to the edge of my artwork?
The cut follows the outline of your artwork, and a white border of about 2-5 mm is then applied around it. Because each sticker is custom cut to its shape, finished sizes may vary slightly.
Does glossy lamination change how the sticker looks?
Gloss lamination adds a shiny film that makes colours look more vibrant, and it protects the print from water, grease, staining and abrasion. Premium thick glossy adds a thicker layer of the same protection for ₹50.
How long does delivery take across India?
Standard manufacturing takes 24 to 48 hours and transit takes 2 to 4 business days through Delhivery or Bluedart, with tracking available for serviceable pincodes across India.
Conclusion: your next step
Everything above reduces to one sequence. Open the upload listing, choose the grid layout that fits your artwork's detail, export a transparent PNG at the pixel width from the table, keep 2 mm of clearance inside your outline, pick the lamination, and only then upload. Check the design at true size first, and your custom shape stickers upload design will be right the first time.
Sources
Featured Custom Products
Frequently Asked Questions
More Articles You Might Like
Sticker Mule Alternatives in India: Where to Print Custom Stickers
Sticker Mule prints custom die-cut stickers from ten per design, with a free online proof, free shipping and a four-day turnaround, but its sticker page quotes in dollars and...
Sticker Lamination Types: Gloss, Matte and Holographic Compared
Sticker lamination types fall into three practical groups: gloss film for colour punch and wipe-clean durability, matte film for low-glare readability under tube lights, and...

Brand Storytelling for Startups: How a Founder's Story Becomes a Moat
Short answer: Brand storytelling is turning why you started into a story other people can repeat back to you. It holds as a moat because competitors can copy your technology,...