
Product Photography for Stickers and Keychains: 5 Listing Shots
Nuho India Team
Nuho Creative Team
Key Takeaways & TL;DR
- Marketplaces judge the main image before they judge the product: white background, tight crop, no text or watermark over the artwork.
- Five frames cover a sticker or keychain listing: main flat shot, scale shot, close-up, in-use shot and the full set.
- Glossy and holographic film mirrors every hard light source, so shoot with a large soft window or a diffuser and a white bounce card instead of the phone flash.
- A phone, a sheet of white poster board, a stack of books and one window are enough to build a listing gallery that passes the rules.
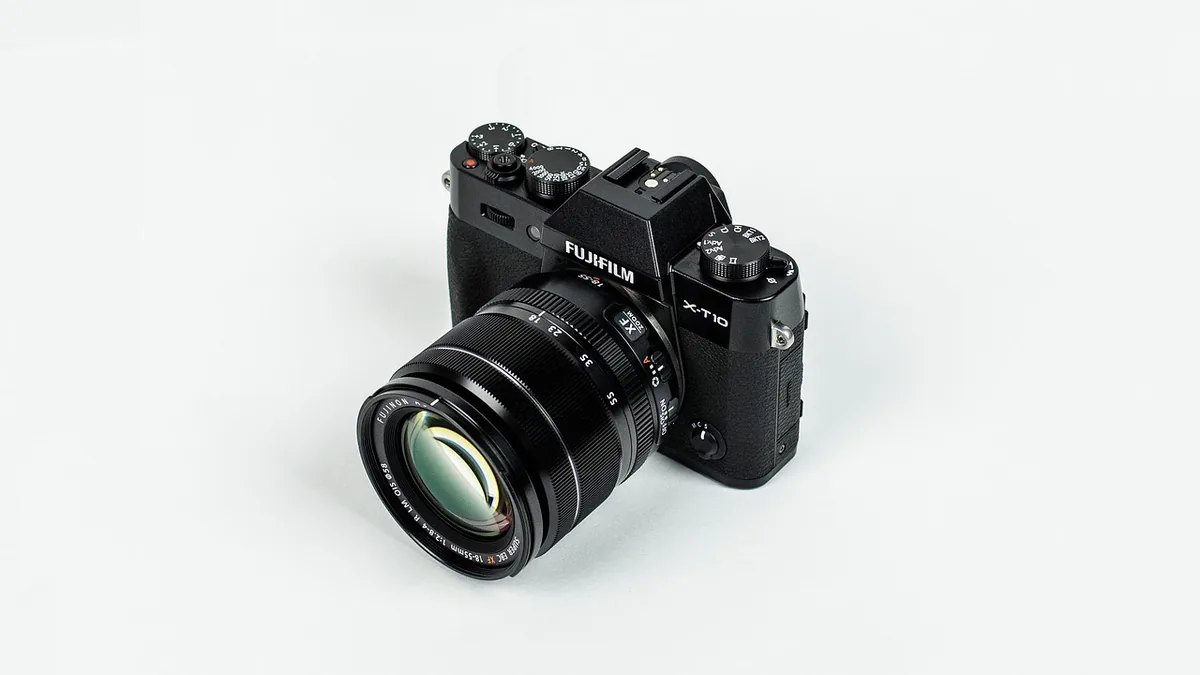
camera, digital, photography, technology, classic, vintage
Product Photography for Stickers and Keychains: 5 Listing Shots
Short answer: Product photography for stickers and keychains needs five frames: a flat shot on plain white, a scale shot beside an everyday object, a close-up of the cut edge, one shot of the item in use, and the full set together. Take them in steady window light with a white card as a reflector, using a phone on a tripod. No watermark, no price sticker, square export.
Key Takeaways
- Marketplaces judge the main image before they judge the product: white background, tight crop, no text or watermark over the artwork.
- Five frames cover a sticker or keychain listing: main flat shot, scale shot, close-up, in-use shot and the full set.
- Glossy and holographic film mirrors every hard light source, so shoot with a large soft window or a diffuser and a white bounce card instead of the phone flash.
- A phone, a sheet of white poster board, a stack of books and one window are enough to build a listing gallery that passes the rules.
The five frames a sticker or keychain listing needs
Product photography is commercial still-life photography that shows products accurately for ecommerce stores and catalogs, and Shopify calls the white background shot the workhorse of ecommerce photography and the foundation of most product pages [1].
| Frame | The question it answers | How to shoot it | Sticker or keychain example |
|---|---|---|---|
| 1. Main flat shot | What exactly am I buying | Straight down, plain white background, product filling the frame | One die-cut sticker centred on white poster board |
| 2. Scale shot | How big is it really | Beside a coin, a house key or an open hand | Name keychain next to a bike key |
| 3. Close-up | Is the print and the cut edge clean | Move in until the lettering and the edge fill the frame | Lettering on a printed keychain tag |
| 4. In-use shot | Where will it live | Stuck or held in its real place | Sticker on a laptop lid, keychain on a key ring |
| 5. Full set | What arrives in the order | Every piece laid out together in one frame | A sticker pack or a set of tags |
Scale photography shows your product's size relative to something familiar, like hands, people, furniture, or everyday objects, and Shopify notes that scale images reduce uncertainty, set accurate expectations and help cut down on returns [1]. Detail shots do the job shoppers would normally do with their hands in a physical store, which is the argument for a close-up of the cut edge, the laminate and the print rather than another wide shot [1]. Flat lay shots capture products from directly above, arranged on a flat surface, which is exactly how a sheet of die-cut stickers should be shown [1].
If you want to see a sticker on the surface it will actually live on before you photograph anything, Custom Shape Sticker Mockups: Preview Before You Print covers the preview step that comes before the shot.
The rules your main image has to pass first
A packshot is a still image of a product used to portray that product in advertising, and packshots can be a simple photograph of the product on a white background, with the goal of triggering in-store, on-shelf product recognition [2].
| Requirement | Flipkart image guidelines | Walmart marketplace rules | What it means for your shot |
|---|---|---|---|
| Main image size | At least 1000 x 1000 pixels | 1500 x 1500 pixels minimum for zoom | Export square, 1600 px or wider |
| Background | White or light grey | Seamless white, RGB 255, 255, 255 | White poster board, never a bedsheet |
| File format | JPEG only | JPEG, JPG, PNG, BMP | JPEG in sRGB |
| Overlays | No price tag, product tag, text or watermark | No watermarks, your name, your logo, no promotional language | Clean frame, all text in the title |
| Images per listing | Minimum 2, 3 preferred | Minimum of four recommended | Plan at least four frames |
Walmart's marketplace rules ask for a seamless white background at RGB 255, 255, 255, tell sellers to crop the item as close as possible to the image frame, and require that all images are in focus and professionally lit [3]. Those same rules forbid watermarks, your name, your logo and any claims or promotional language on the image, and Walmart recommends uploading a minimum of four images for each listing [3].
Flipkart's published image guidelines ask for image resolution of at least 1000 x 1000, JPEG only, a white or light grey background, and no price tag, stickers or product tag inside the image [4]. The same guidelines reject text or watermarks in the image, images that are cropped, extended or elongated, and blurred or pixelated pictures where no part of the product is out of focus [4].
One window, one white card
Shopify's starter setup for a small seller is a smartphone camera, a poster board background, natural window light and a DIY reflector made from white foam board or printer paper, which is enough for testing products and building initial listings [1]. Position the table close to a window and start with the window at a 90-degree angle to the setup, because the closer you are to the window and the larger it is, the softer your light will be [1].
A white reflector card is the most valuable light modifier in a small setup, because it bounces light to fill in shadows and creates a more evenly lit image [1]. A sheet of white chart paper propped against a stack of books does the same job on a table, and it costs nothing to move when a shadow lands on the lettering.
Natural light can change by the second, which makes a product gallery look uneven, so shoot every frame of one design in the same session without moving the table or the board [1]. If the only clear window in the house faces west and bakes by afternoon, take the set in the morning and finish it before the light shifts, and if a monsoon week keeps the sky flat and grey, that steady light is easier to work with than a sunbeam that moves across the poster board.
Gloss, holographic film and the phone flash
Small, hard light sources create glaring hotspots on glossy vinyl, and the fix is to use a larger light source like a softbox or a diffuser sheet, angle the product slightly, or add a circular polarizing filter to cut through the glare [1]. Reflective and transparent products create the same problem because they mirror the room, the camera and the lights, so a light tent or a ring of white cards around the sticker produces clean, even reflections instead of a dark rectangle of the ceiling [1].
How much glare a finish holds is a material question before it is a camera question, and Glossy vs Matte Stickers: Which Finish Suits Your Design? explains why glossy film photographs deeper and sharper while matte film scatters light and forgives fingerprints. A holographic sheet moves colour as the angle changes, so lock the camera on a tripod, rotate the sticker instead of the phone, and take the frame where the rainbow sits inside the artwork rather than across the lettering.
Editing without breaking the rules
Set the camera's white balance to match your light source, and always export your images in the sRGB color space so they look consistent across all web browsers [1]. Editing must not add back what the marketplace rules remove: Walmart forbids text, logos, borders, color blocks and watermarks over the product or in the background [3], while Flipkart forbids price tags, product tags, text and watermarks in the image [4].
Crop to square, keep the product sharp, and leave the selling text to the title and the description. If the photo looks homemade, the usual causes are an uncontrolled setup, a light that moves, or dust, wrinkles and fingerprints on the product, all of which are fixed before the shutter rather than afterwards [1].
A one-hour setup you can build at home
- Clear the table and wipe the sticker or keychain with a dry cloth so dust and fingerprints do not show up in the close-up.
- Tape a sheet of white poster board to the table and let it curve up the wall so there is no visible edge behind the product.
- Put the phone on a tripod, or on a stack of books, and take one test frame. Zoom in on the screen and check the lettering for sharpness.
- Start at a 90-degree angle to the window, take the main flat shot, then move the white card to the shadow side for a fill.
- Shoot the five frames without moving the board: main, scale, close-up, in-use, full set.
- Export square in sRGB, check the frame for any stray text or reflection, and upload at least four images to the listing.
Photographing products that come from Nuho India
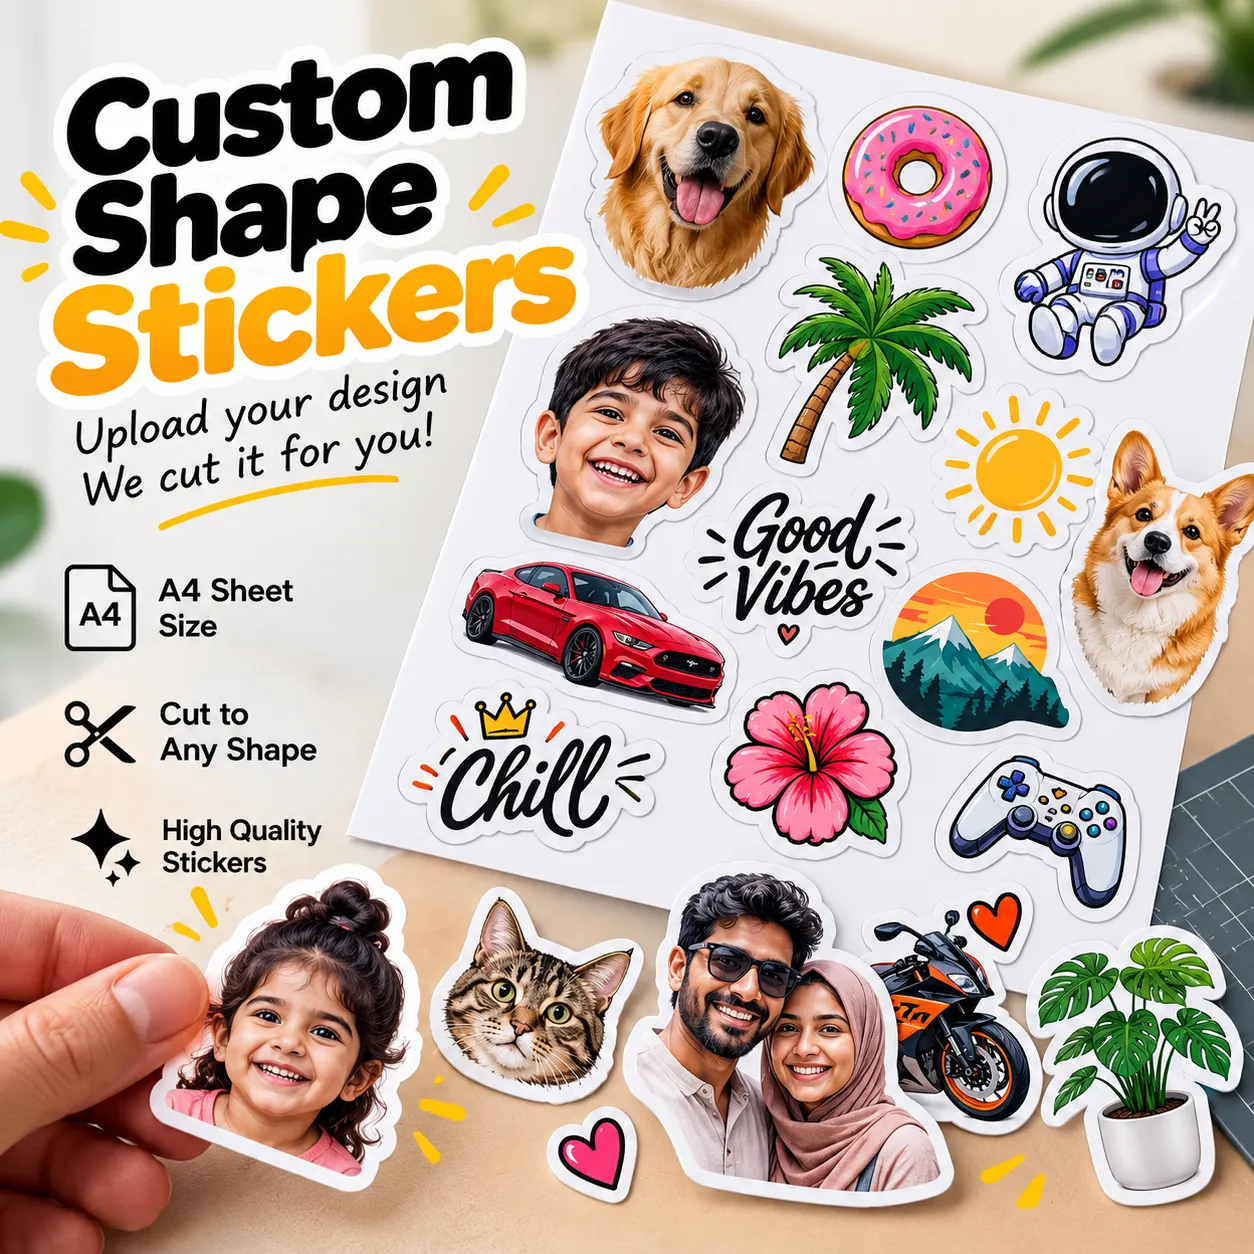
For a seller listing Nuho India products, the catalogue itself gives the shot list. Custom Shape Stickers – Upload Your Design at ₹79 is a flat cut-to-shape piece that photographs straight down, while Horn OK Please Badge Sticker - Glossy Die-Cut (Max 80mm) at ₹15 is glossy enough to mirror a hard light source if you shoot it under a bare bulb.
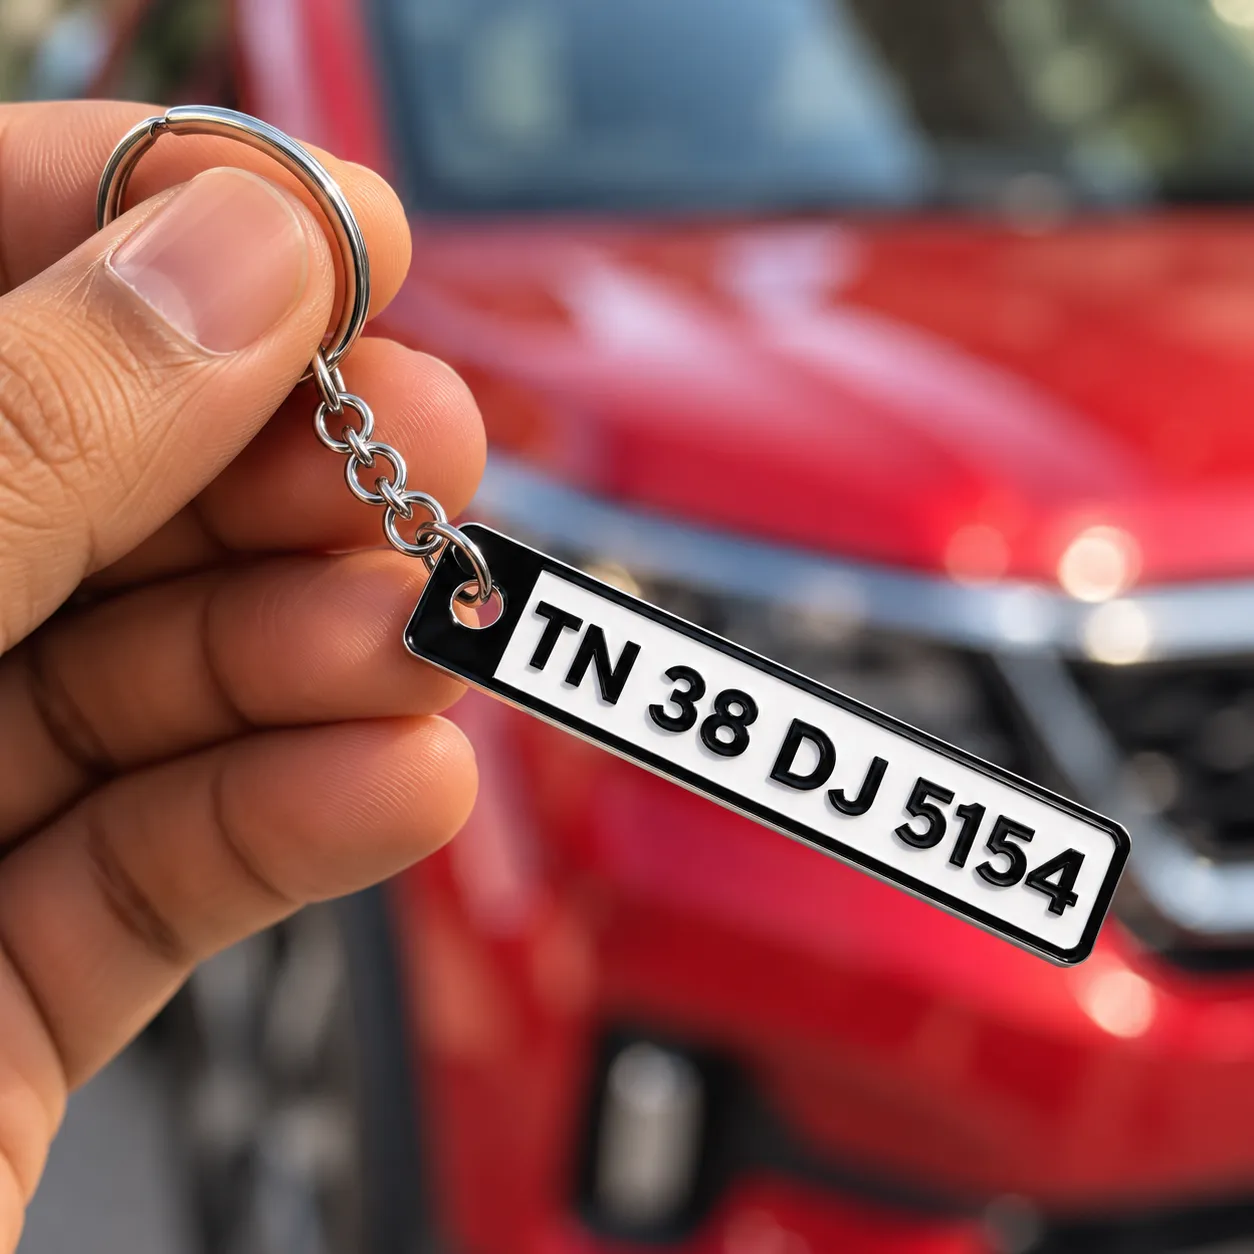
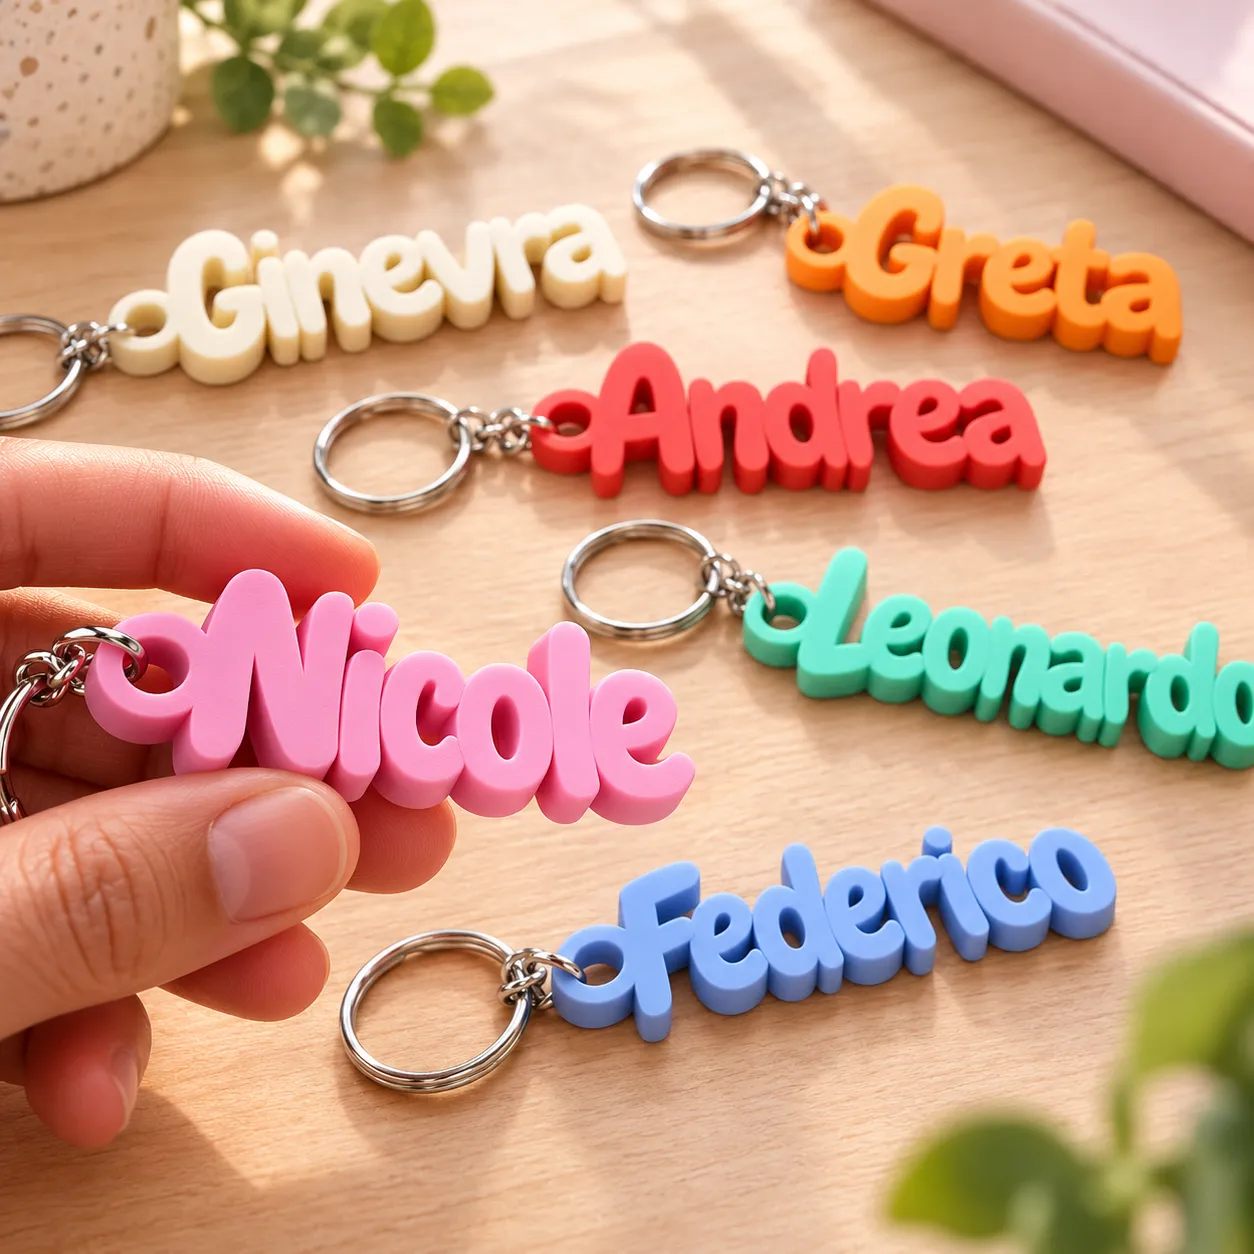
On the keychain side, Custom Name Keychain – Personalized 3D Printed Keyring at ₹79 and Custom 3D Printed Car Numberplate Keychain – Personalized Mini License Plate at ₹99 both need a scale shot, because a small printed part is easy to misjudge in a photo when there is nothing familiar beside it [1].
Nuho India manufactures in Coimbatore, Tamil Nadu and ships pan-India via Delhivery and Bluedart with automated tracking, with 24 to 48 hours of manufacturing for standard orders and 2 to 4 business days in transit, so the photo set you take before ordering should be matched to what actually arrives. If the listing belongs to a small business rather than a personal store, the photo set is also the brand's first impression: Small Business Branding Stickers: Labels and Packaging on a Budget covers what the parcel and the label should look like beside the product shot.
Frequently asked questions
How many photos should a sticker or keychain listing have?
At least four. Flipkart's published guidelines ask for a minimum of two images with three preferred, and Walmart recommends uploading a minimum of four images for each listing, so four frames covers both.
Can I take listing photos with my phone?
Yes. Shopify's starter kit is a smartphone camera, a poster board background, natural window light and a DIY reflector, and the parts that decide the result are a stable camera, a clean surface and steady light rather than an expensive body.
What background should I use for a sticker photo?
Plain white poster board. Flipkart asks for white or light grey, Walmart asks for seamless white at RGB 255, 255, 255, and a patterned cloth or a coloured wall fails both.
How do I photograph a glossy sticker without glare?
Use a large soft source such as window light through a diffuser, angle the product slightly and bounce a white card into the shadow side, because small, hard light sources create glaring hotspots on glossy vinyl.
Should I watermark my listing photos?
No. Watermarks, logos, price tags and promotional text are exactly what the marketplace image rules prohibit on the main image, so keep the frame clean and put the text in the title instead.
Conclusion
A listing photo set is five frames, one window and one white card, shot in a single sitting so the gallery stays consistent. The rules that decide whether a photo is accepted are narrow and published: white background, tight crop, no text or watermark over the product.
Next step: build the poster board and phone setup tonight, shoot the five frames of one sticker or one keychain, and upload four square images to your next listing before you order a second product.
Sources
Featured Custom Products
Frequently Asked Questions
More Articles You Might Like
Sticker vs 3D Printed Emblem: Which One Should You Choose?
A printed sticker wins when you need colour, quantity and a low cost per piece: it is a flat film that follows curves and applies without drama. A 3D printed emblem wins when you...

College Merch Stickers Keychains for Fests on a Student Budget
College merch stickers keychains are the cheapest way for a student club to build an identity: order die-cut stickers in one run, add a small batch of 3D printed name keychains...
Merch for a Cause: Community Lessons for Indian Brands
Merch, short for merchandise, is any branded item a person buys or receives from a community, cause or creator — a sticker, keychain, T-shirt or hoodie that signals belonging....