
Cartoon Stickers for Study Tables: Placement and Peeling
Nuho India Team
Nuho Creative Team
Key Takeaways & TL;DR
- 70% isopropyl alcohol on a lint-free cloth is the single highest-value prep step; furniture polish and hand cream are the two most common causes of edge lift.
- Pointed corners detach first — a rounded die-cut outline outlasts a hand-cut rectangle, and features narrower than 3–4 mm are the first to fail.
- Pressure-sensitive adhesive keeps building bond strength for hours after application, so leave the desk empty overnight before loading it with books.
- Keep stickers at least 15 cm from a desk lamp or laptop exhaust: most pressure-sensitive adhesives lose shear strength as temperature rises.
- Remove with low heat from 10–15 cm for 20–30 seconds and peel flat at a low angle — never use acetone or thinner on laminate or painted MDF.
Why cartoon stickers on a study table peel in the first place
A cartoon sticker peels on a study table because the adhesive never bonded to the surface in the first place, not because the sticker was "bad". Dust, furniture polish, a glossy laminate with low surface energy, or simply pressing it on with a fingertip instead of a firm rub-down will each cost you the bond. Get the surface clean and dry, place the sticker away from heat and the writing zone, and most peeling stops.
That is the short answer. The rest of this guide is the long one: which study-table surfaces actually hold, where to put stickers so they survive a school year, and how to remove one later without lifting the laminate your parents paid for.
A sticker is a plastic or vinyl film carrying a pressure-sensitive adhesive on one side, as the Wikipedia entry on stickers sets out. That adhesive bonds only when pressure is applied, and the strength of that bond depends on how smooth, how clean and how energetically "grabby" the surface is. There is no solvent, no heat and no curing step — which is why preparation does all the work.
Which study table surfaces actually hold a cartoon sticker?
Not all desks are equal. A sticker that grips a glass-topped table for two years can fall off a powder-coated steel desk in a week, and the difference is surface energy — the excess energy at the surface of a material, which is what the adhesive has to wet out and grip.
| Surface | Hold | What happens | What to do |
|---|---|---|---|
| Laminate / melamine (most Indian study tables) | Good to very good | Smooth and non-porous; holds well if degreased | Wipe with 70% isopropyl alcohol, dry fully |
| Glass top | Very good | Excellent wet-out, easy to clean | Clean both sides of the glass edge; avoid bubbles |
| Painted MDF or painted wood | Good | Paint dust and chalky pigment weaken the bond | Wipe until the cloth comes away clean |
| Raw or oiled wood | Fair | Oil and grain pores fight the adhesive | Avoid; use a pin-board instead |
| Powder-coated steel | Fair | Textured coat traps dust; edges lift first | Press hard, round the corners |
| Textured plastic / 3D-printed surfaces | Poor to fair | Layer lines mean only the high points touch | Not recommended for flat stickers |
| Sunmica with silicone polish | Poor | Polish leaves a slippery film | Degrease twice, then wait |
The pattern is simple: smooth, clean and unpolluted wins. If a surface feels slick or waxy under your finger, the adhesive is going to sit on the film of polish rather than on the table.
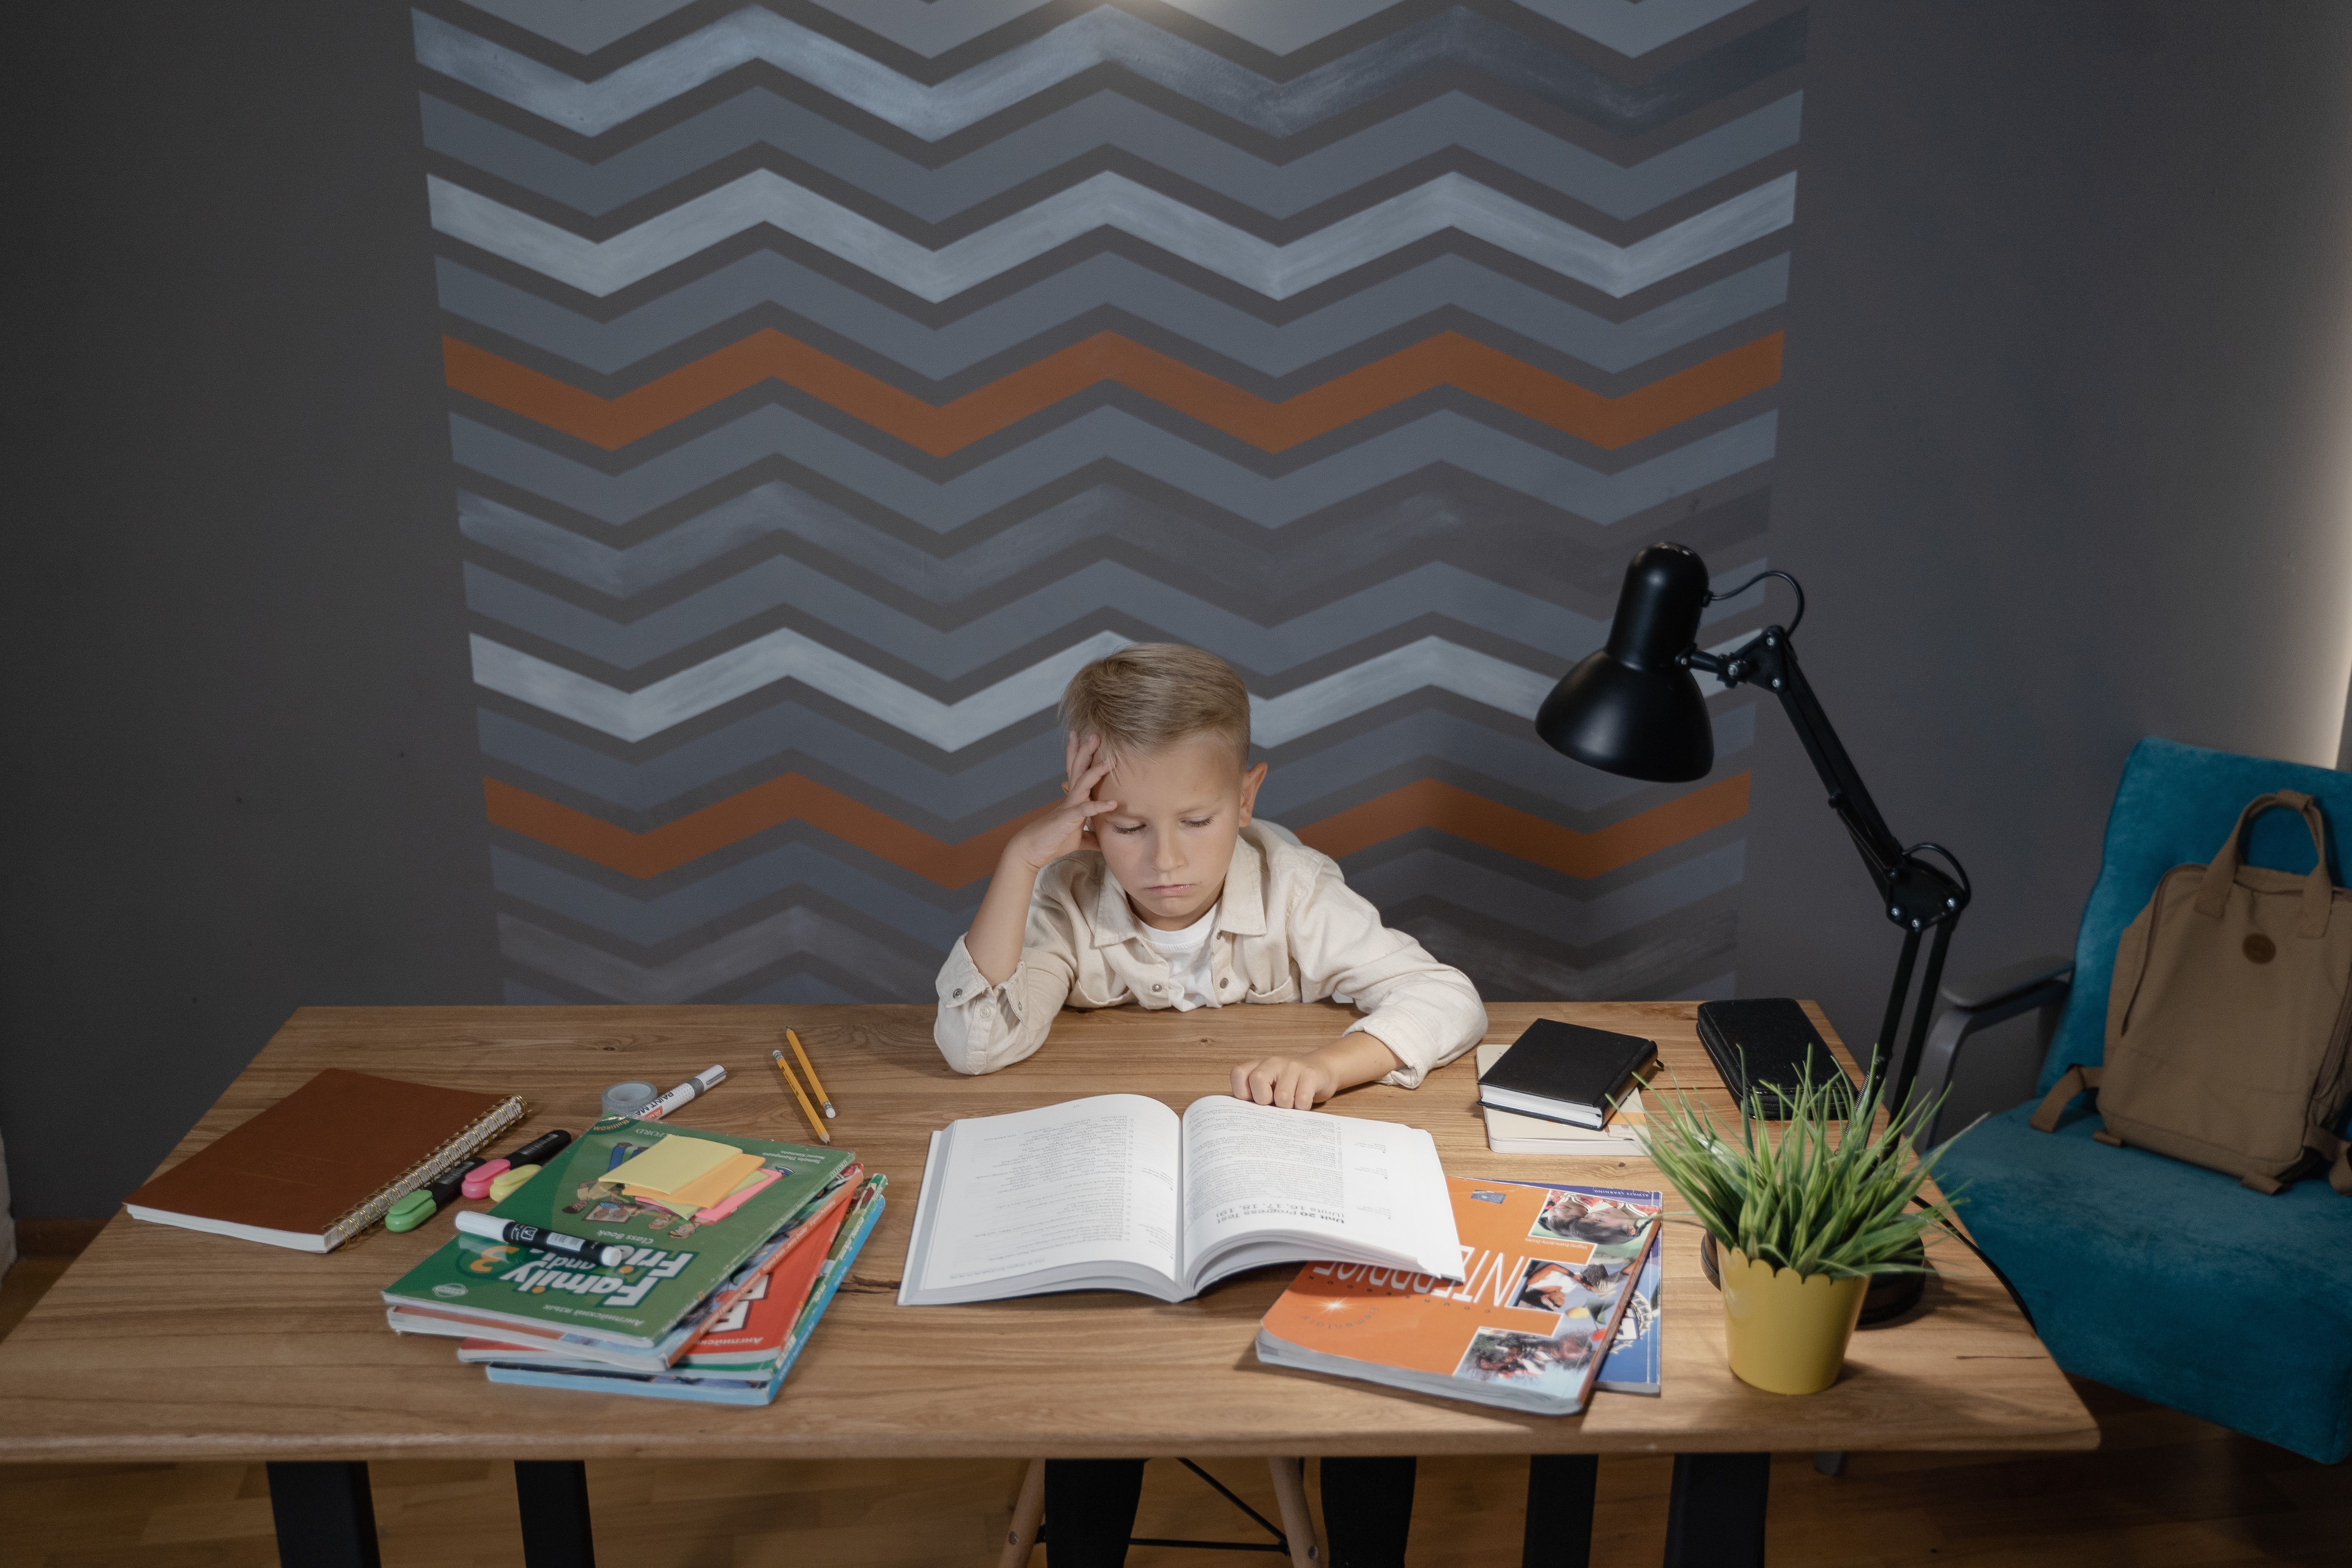 Cartoon stickers for study table — a schoolboy at a study desk surrounded by school supplies
Photo: Tima Miroshnichenko / Pexels
The 30-second prep that decides whether the sticker stays
- Clear the desk. Sticker placement is easier before the books, lamp and laptop land on it.
- Wipe with a damp cloth and let it dry. This removes loose dust, eraser crumbs and graphite.
- Degrease with 70% isopropyl alcohol on a lint-free cloth. Furniture polish, sunscreen, hand cream and cooking oil are the four common killers.
- Wait 60 seconds. A sticker pressed onto a damp surface traps moisture underneath and milks up.
- Place, then rub down hard with a clean cloth or the back of a spoon, working from the centre outward. Pressure is the activating ingredient for a pressure-sensitive adhesive — a light touch is not enough.
- Leave it alone for a few hours. Permanent pressure-sensitive adhesives continue to build bond strength for hours or days after application, so the sticker that feels slightly loose at minute one is often locked in by evening.
Where to put cartoon stickers on a study table
Placement matters as much as preparation. The tabletop is a working surface; the vertical faces are decoration surfaces. Mixing the two is how stickers get scribbled on, peeled by elbows, and cooked by desk lamps.
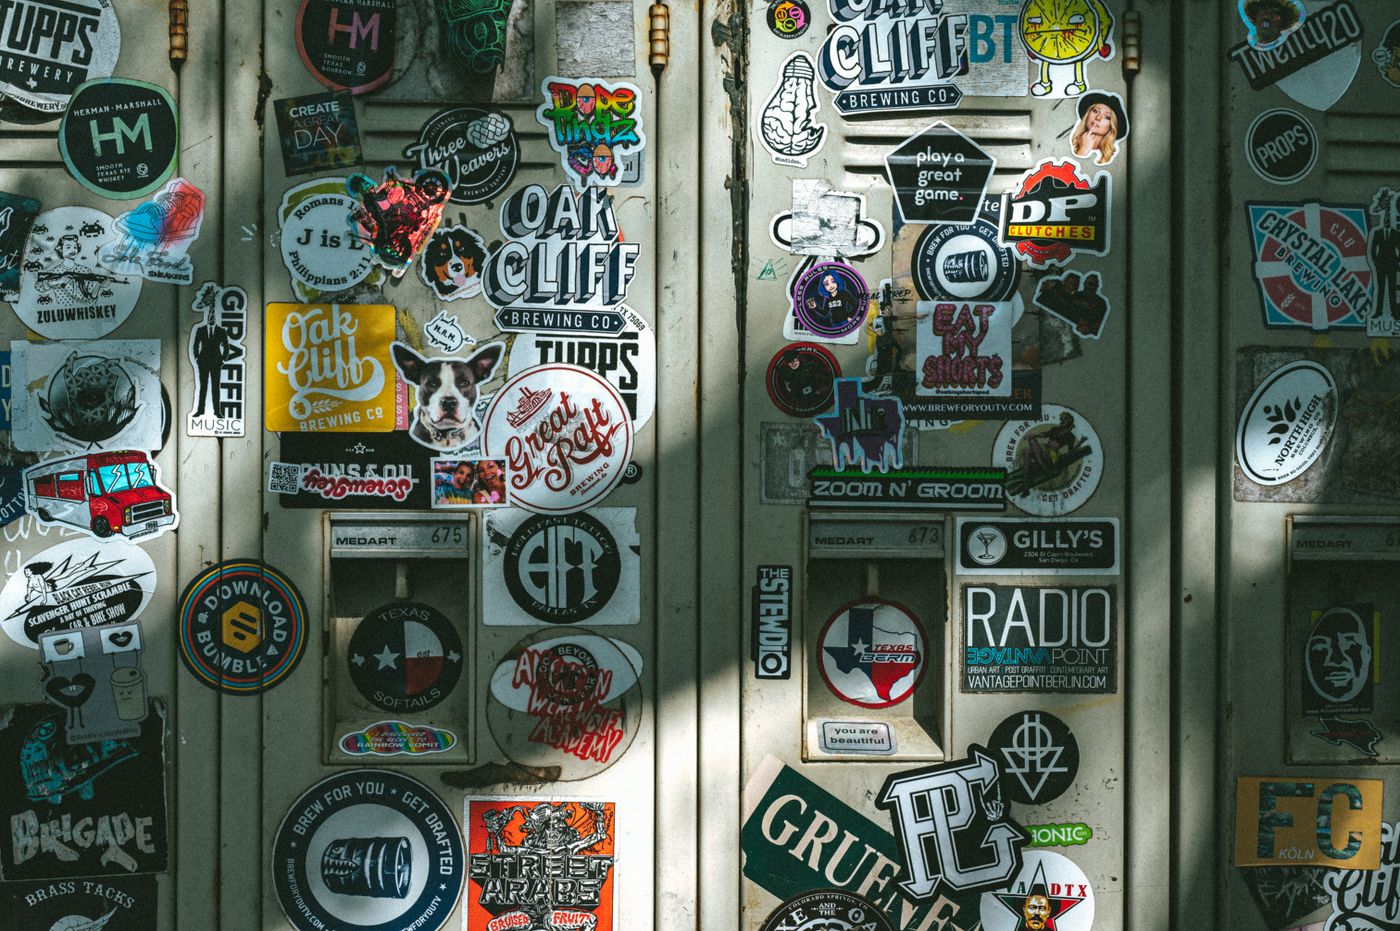 cartoon stickers for study table — Vibrant assortment of stickers covering lockers in Dallas, Texas
Photo: Alfo Medeiros / Pexels
Good zones:
- Front edge of the tabletop — visible while seated, out of the writing path.
- Side panels and the outside of drawers — large, flat, rarely touched.
- The wall strip just above the desk — the best place for a themed set, and it keeps the tabletop clear.
- Inside a drawer lid or on a pencil box — small stickers, low wear.
- Back of a chair or the side of a bookshelf — extends the theme without cluttering the desk.
Bad zones:
- Under the writing hand — friction plus graphite dust equals curl.
- Within 15 cm of a desk lamp bulb or a laptop exhaust — warm air softens adhesive and the sticker slides.
- Directly under a water bottle or mug — condensation wicks under the edge.
- Over a seam, hinge or screw head — the sticker bridges a gap and lifts at the break.
- On the fold of a folding table — every fold flexes the film and the adhesive fatigues.
Corners are where peeling starts
If you look closely at a failing sticker, the lift almost always begins at a point. Tapes and labels with pointed corners start to detach at those corners, and rounding them measurably improves how well they hold. This is why custom die-cut shapes with soft, rounded outlines outlast hand-cut rectangles with sharp 90-degree corners, and why a sticker with thin, spiky arms — a cartoon character's hair, a lightning bolt tail — loses those arms first.
Practical rules that follow from this:
- Prefer rounded or softened outlines on small stickers.
- Keep the smallest feature at least 3–4 mm wide so it has enough adhesive area to survive a knock.
- If a sticker has a sharp corner, press that corner down twice — once at application, once the next morning.
- Avoid stacking a sticker on top of another sticker's edge; you are gluing to a step, not a plane.
Why Indian summer and monsoon are the real test
Pressure-sensitive adhesives are formulated to work at room temperature. They typically lose tack at low temperatures and lose shear strength at high temperatures, which matters when a study table sits beside a west-facing window and the laminate hits 50 °C in May. Heat makes the adhesive flow; a flowed adhesive lets the film slide a millimetre, then the edge catches dust and the lift begins.
 Cartoon stickers for study table — top view of a tidy study desk with books, notebook and laptop
Photo: ThisIsEngineering / Pexels
Humidity does the other half of the damage. Moisture in the air and condensation from a cold bottle soften the film's dimensional stability and give dust something to stick to at the edges. The fix is unglamorous: keep stickers off hot surfaces, wipe edges when you clean the desk, and choose a vinyl film rather than paper if the desk is anywhere near a window. Our guide to waterproof stickers in Indian rain, fuel and sunlight covers which films survive which exposure.
How to remove a cartoon sticker without wrecking the laminate
Kids change their minds, and parents change the desk. Removal is a skill worth teaching properly, because the damage usually happens here, not during application.
- Warm the sticker, don't cook it. A hair dryer on low, held 10–15 cm away for 20–30 seconds, softens the adhesive. Stop before the laminate feels hot.
- Peel at a low angle, folding the sticker back on itself almost flat against the table. Pulling straight up is how you tear the top layer and leave the adhesive behind.
- Go slowly and steadily. Fast peeling generates more resistance and more residue.
- Work the edges first with a fingernail or a plastic card. Never use a metal scraper on laminate.
- Deal with residue separately. A drop of isopropyl alcohol on a cloth, or a little vegetable oil left for a minute, lifts most adhesive. Never use acetone, thinner or nail-polish remover on laminate or painted MDF — it attacks the finish far faster than it attacks the glue.
- Wipe dry, then leave the surface unpolished for a day so the next sticker has something to grab.
A layout that looks intentional, not cluttered
A study table covered in thirty random stickers reads as mess; eight well-placed ones read as a theme. Three rules do most of the work:
- Pick one panel as the hero. One side panel or the wall strip above the desk carries the set. Everything else stays clean.
- Work in a loose grid, with 20–40 mm gaps between stickers. Even spacing is what makes a collection look deliberate.
- Limit the palette to two or three colours. Cartoon sets usually already share a palette — lean into it instead of mixing five franchises.
- Size in a hierarchy: one large sticker at 80–120 mm, three or four at 40–60 mm, and small accents at 20–30 mm.
- Put the favourites at the child's eye level, not yours. A desk is a child's room within a room.
The same logic changes on a smaller, hotter, more handled panel, as our guide to laptop stickers, sizes and placement — the constraint there is a smaller, hotter, more handled panel.
Choosing the sticker itself: film, cut and finish
Two material decisions decide most of the outcome.
Film. Paper stickers are cheap and fine for a notebook cover that will be thrown away in March. For a table that will be wiped with a damp cloth for years, choose a vinyl or PVC film with a permanent acrylic adhesive. Vinyl resists water, survives wiping, and does not swell the way paper does.
Cut. A die-cut sticker follows the outline of the artwork, so there is no transparent border to collect dust and no rectangle fighting the shape of the character. This is the single biggest visual upgrade for cartoon artwork, and it is also structurally better — the outline can be designed with rounded corners.
Finish. Gloss wipes clean and lifts colours; matte hides fingerprints and looks calmer on a wooden desk. Our glossy vs matte comparison goes through the trade-offs in detail.
At Nuho India we produce custom-shape and cartoon stickers on vinyl, cut to the artwork's outline rather than a standard rectangle. You send the design — a character, a name, a set of six matching shapes — and we cut it in Coimbatore, Tamil Nadu, with despatch in 24–48 hours across India. Shapes, sizes and the current range are on the Nuho products page. If you are placing a set on a study table, the practical order is: measure the panel, decide the hero sticker first, then fill in the smaller accents around it.
Making it a weekend project with your kid
The reason cartoon stickers work on a study table is not decoration for its own sake. A desk a child has arranged themselves is a desk they sit down at. The project takes about an hour and teaches something real: that surfaces need preparing, that pressure matters, that a corner left unpressed is a corner that will lift.
A workable sequence:
- Clear the desk and clean it together — the cleaning is the lesson.
- Lay every sticker out dry, unfastened, and move them around until the layout looks right. Take a phone photo of the arrangement before peeling any backing.
- Apply the largest sticker first, then work outward.
- Rub each one down for a full ten seconds, corners included.
- Leave the desk empty overnight so the adhesive can build its bond.
One honest limitation: stickers are decoration, not protection. They will not stop a laminate top from scratching, and a sticker placed in the writing zone will collect pencil marks and eventually curl. Treat the tabletop's working area as sacred and the vertical faces as the canvas — that single rule prevents most of the peeling people blame on the sticker.
Frequently Asked Questions
More Articles You Might Like
Kiss-Cut Custom Shape Stickers: Sheets, Sizes and Use Cases
Kiss-cut custom shape stickers explained: how the cut works, A6 to A4 sheet sizes, sticker dimensions, artwork rules and the use cases that suit a sheet.

3D Printed Gifts for 8-Year-Olds: Safe, Personalised Picks
A practical guide to 3D printed gifts for 8-year-old girls — safe material choices, names that get used, and honest price and timeline numbers.

3D Printed Wedding Gifts in India: Keepsakes That Last
A practical guide to 3D printed marriage gifts in India: which keepsakes the couple actually keeps, honest PLA+ limits, real costs and lead times.